Furring a Ceiling for Drywall: A Practical Guide to Level, Long-Lasting Ceiling Framing
When renovating basements, old homes, or commercial interiors, furring a ceiling for drywall is one of the most reliable framing techniques for creating a smooth, stable substrate for gypsum board. Many DIY builders and contractors encounter uneven concrete slabs, warped joists, or overhead utility lines that make direct drywall attachment impossible. Furring strips or metal hat channels solve this problem by building a secondary, flat support plane below the original ceiling structure. Whether you are working on a residential remodel or a light commercial fit-out, understanding the purpose, material choices, layout rules, and installation best practices will help you avoid sagging, cracked seams, and costly rework on your drywall ceiling project.
At its core, furring a ceiling for drywall means mounting thin framing members across your existing ceiling substrate to form a consistent mounting grid for drywall panels. This process differs from standard suspended T-bar ceilings, because furring is usually fastened directly to the overhead structure rather than hanging from wires on a full grid system. The gap created between the original ceiling and drywall also serves valuable secondary functions. It creates space to run electrical wiring, low-voltage cables, small duct runs, or recessed light housings. It can hold batt insulation or sound-dampening materials to boost thermal performance and reduce noise transfer between floors. On rough concrete ceilings in basements, furring bridges uneven spots and eliminates the need for extensive grinding or patching before hanging drywall. This is why furring remains a preferred method for basement ceilings and renovation projects where the original structure is out of level.
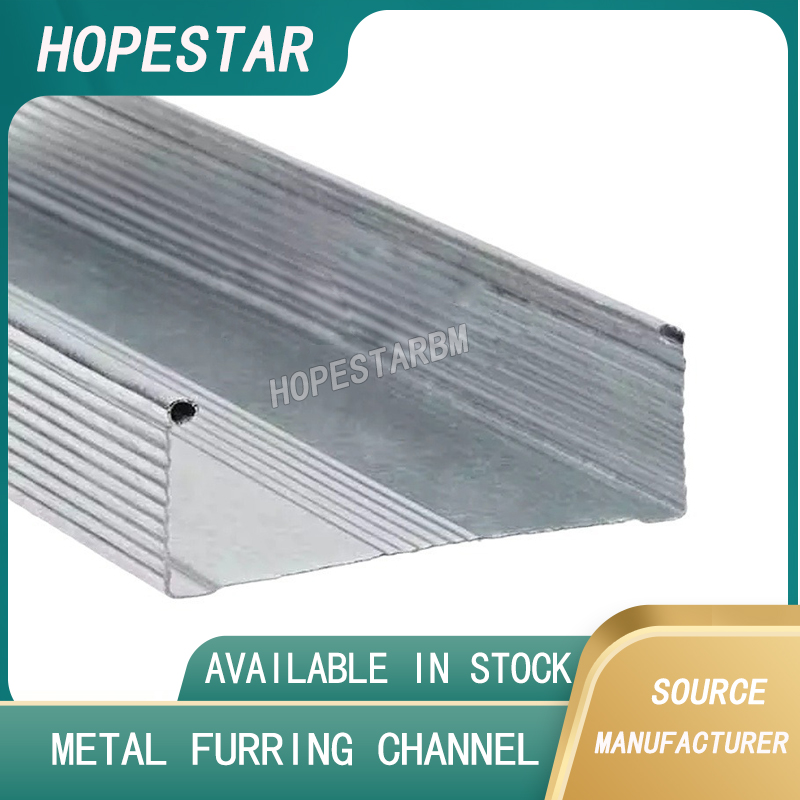
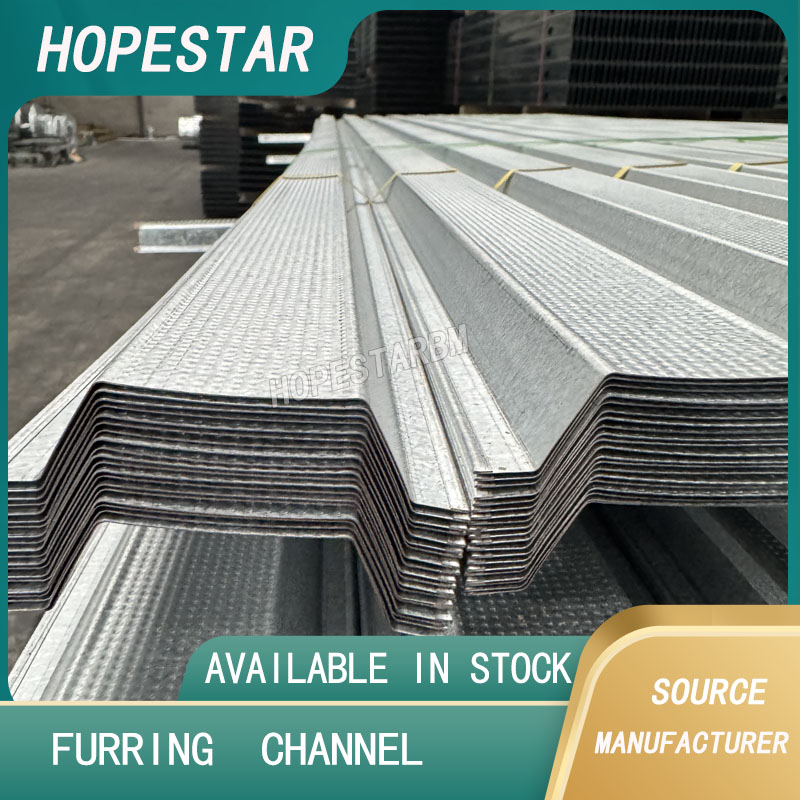
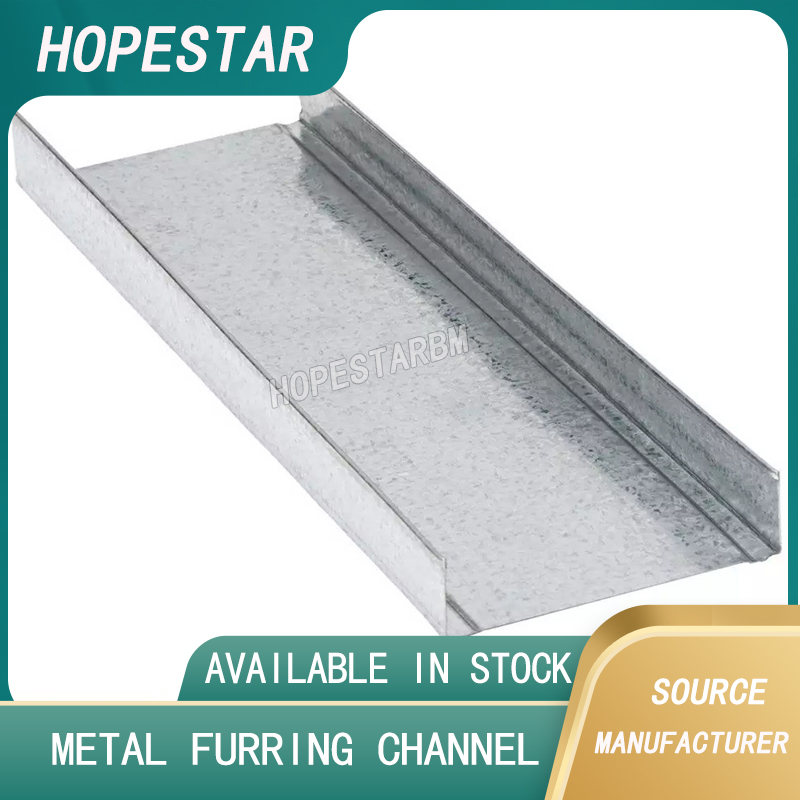
The first critical decision in furring a ceiling for drywall is selecting between wood furring strips and galvanized metal furring channels. Traditional wood furring, typically 1×3 or 1×4 kiln-dried lumber, is low-cost and easy to cut on site with basic carpentry tools. However, wood carries notable downsides. Green or unseasoned lumber will shrink, twist, and warp after installation, which pulls drywall joints out of alignment and creates visible cracks. Wood is also vulnerable to mold and rot in humid basements, and it does not offer the fire resistance of steel. Metal hat channels, the modern alternative, are roll-formed from galvanized steel. They stay perfectly straight, resist moisture and insect damage, and maintain their shape over decades. Metal furring is lighter than solid wood and consistent in dimension, making leveling faster and more predictable. For acoustical upgrades, resilient metal furring channels decouple drywall from the structural ceiling, cutting down on impact noise transmission. The tradeoff is a higher material cost and the need for metal-cutting tools and self-tapping screws. Most professional drywall crews choose metal furring for basements and high-humidity spaces, while wood furring is reserved for dry, low-budget interior projects.
Proper layout and spacing directly determine whether your furred drywall ceiling stays flat. The universal rule is to run furring strips perpendicular to the ceiling joists or structural supports below. If you run furring parallel to joists, the framing will lack cross-bracing and drywall will sag between supports. Standard on-center spacing is 16 inches for most residential drywall ceilings; 24-inch spacing is acceptable only for lighter 3/8-inch drywall in low-traffic areas, and many local building codes restrict 24-inch spacing for overhead applications. Start the layout by marking joist locations on the walls, then snap level chalk lines across the ceiling or use a laser level to map the furring plane. Mark the position of every furring member clearly before fastening anything. If the ceiling slopes or has low spots, use plastic or composite shims to raise individual furring sections and maintain one continuous flat plane. Never stack thick wood shims, as they can compress and shift over time. Remember to mark locations for electrical boxes, vent openings, and light cans early, so you can add extra blocking or shorten furring channels without cutting finished drywall later.
Surface preparation and secure fastening are easy to skip but impossible to overlook for durable results. Before attaching furring, inspect the existing ceiling for loose concrete, crumbling plaster, rotted joists, or protruding pipes. Repair structural defects first; furring will not fix underlying structural failure. For wood joist substrates, use corrosion-resistant deck screws to attach wood furring, driving fasteners at every joist intersection. For concrete slabs or masonry ceilings, use concrete screws, powder-actuated fasteners, or approved masonry anchors. When installing metal hat channels, use screws designed for thin-gauge steel and anchor the channels firmly to the structure at marked intervals. After the full furring grid is mounted, run a straightedge across multiple strips or channels to check for high and low points. This quick check catches misalignment before drywall goes up, when adjustments are still simple. Once the frame is level, route wiring and set insulation into the cavity, taking care not to compress insulation between furring and the original ceiling. Compressed insulation loses its R-value and creates uneven pressure against the drywall backside.
Once the furring framework passes inspection, you are ready to hang drywall. Drywall panels also run perpendicular to the furring members, so every panel edge and intermediate seam lands squarely on a furring strip or channel. Use drywall screws sized to penetrate at least 3/4 inch into the furring. Drive screw heads just below the paper surface without tearing the gypsum face, which weakens the panel and makes finishing harder. Stagger drywall end joints across adjacent rows to avoid long continuous crack lines. After hanging, tape and mud joints following standard drywall finishing procedures. The finished ceiling will look identical to drywall mounted directly to joists, but it sits on a carefully corrected plane.
Even experienced installers run into predictable mistakes when furring a ceiling for drywall. The most frequent error is over-spacing furring, which leads to slow drywall sagging months after finishing. Another common mistake is using wet lumber that warps and ruins seams. Many DIYers also forget to leave clearance for utilities, forcing them to cut holes after drywall is hung and damaging the furring frame. Skipping the laser level step leaves subtle waves that become glaring once paint is applied and ceiling light hits the surface. Failing to use corrosion-resistant fasteners creates rust stains that bleed through paint over time. All these issues are avoidable with careful planning and adherence to spacing rules.
Furring a ceiling for drywall remains a versatile, cost-effective framing solution for renovation and new build projects alike. It transforms flawed, uneven overhead surfaces into a precise platform for smooth drywall, while hiding wiring, improving insulation values, and boosting sound control. Choosing metal furring delivers long-term stability in damp spaces, while properly seasoned wood works well for dry interior ceilings. By planning your layout perpendicular to supports, maintaining correct on-center spacing, leveling the grid with shims, and fastening securely to solid structure, you can build a furred ceiling that stays flat and crack-free for years. Whether you are tackling a basement remodel yourself or coordinating with a drywall subcontractor, mastering furring fundamentals ensures your finished ceiling meets code requirements and delivers a clean, professional look.
Drywall Steel: The Reliable Framing Backbone for Modern Gypsum Board Installations
Hat Track Ceiling: A Complete Guide to Hat Channel Furring Systems for Drywall Ceilings
Related Article