
z furring channel installation
2024-07-16
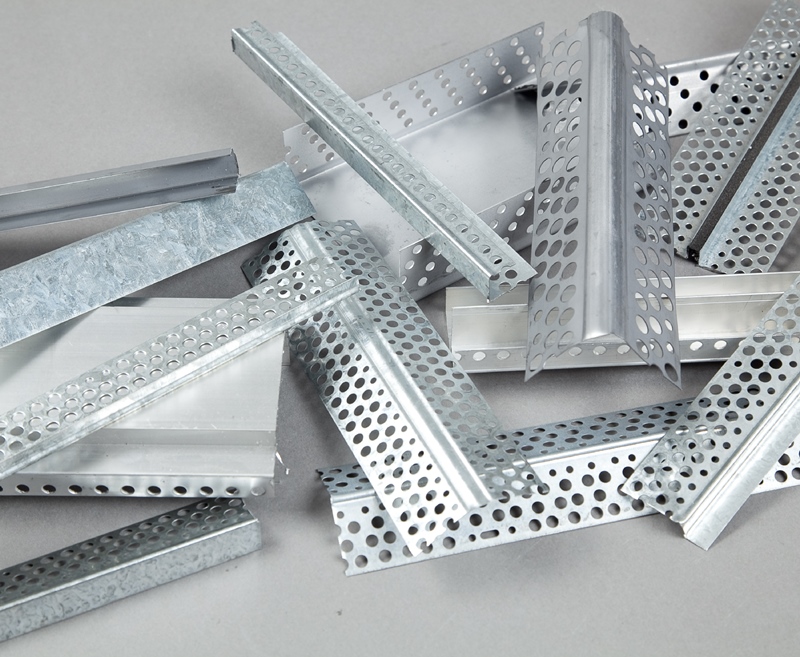
In the installation process of Z Furring Channel, the key lies in precise measurement, meticulous construction, and strict adherence to installation steps to ensure its stability and durability. The following will provide a detailed explanation of the installation steps and precautions for Z Furring Channel.
1、 Preparation before construction
Before starting the installation of Z Furring Channel, it is necessary to thoroughly inspect the construction area to ensure that the walls are flat, free of cracks, loose materials, and have been cleaned thoroughly. At the same time, prepare the necessary installation tools such as measuring tape, drill, screwdriver, level, etc., as well as sufficient Z Furring Channel and accessories.
2、 Measurement and positioning
Use a measuring ruler and level to accurately measure the wall dimensions and determine the installation position and spacing of the Z Furring Channel. Normally, the spacing of Z Furring Channels should be determined based on usage and design requirements to ensure their load-bearing capacity and stability. When positioning, the verticality and levelness of the wall should be considered to ensure that the Z Furring Channel is flat and aesthetically pleasing after installation.
3、 Install support components
According to the measurement and positioning results, use an electric drill to drill holes on the wall and install support components. The number and position of supporting components should be determined based on the wall size and the spacing of the Z Furring Channel. When installing supports, ensure that they are firm, stable, and perpendicular to the wall.
4、 Install Z Furring Channel
Place the Z Furring Channel on the support and secure it with a screwdriver. During installation, it should be ensured that the Z Furring Channel is parallel to the wall and closely adheres to the supporting components. Meanwhile, it should be noted that the spacing between Z Furring Channels should be uniform to ensure their overall aesthetics and stability.
5、 Inspection and adjustment
After installation, the Z Furring Channel should be inspected and adjusted. Firstly, check if its installation is firm, stable, and free from shaking. Secondly, check its levelness and verticality, and adjust it promptly if there is any deviation. Finally, check if the surface is flat, smooth, and free of defects such as scratches and dents.
6、 Install attachments
As needed, various accessories such as hooks, brackets, lighting fixtures, etc. can be installed on the Z Furring Channel. When installing accessories, ensure that they are firm, stable, and will not cause damage to the Z Furring Channel. Meanwhile, it is important to note that the location and quantity of attachments must comply with design requirements and safety standards.
7、 Maintenance and upkeep
After installation, the Z Furring Channel should be regularly maintained and serviced. Firstly, it is necessary to keep its surface clean and dry, and avoid prolonged exposure to moisture or contamination. Secondly, it is necessary to regularly check its installation condition and promptly repair any looseness or damage. Finally, it is important to avoid hanging heavy objects or performing violent impacts on the Z Furring Channel to prevent damage.
8、 Precautions
When installing Z Furring Channel, the following points should be noted:
1. Ensure that the wall is flat, free of cracks, loose substances, and has been cleaned thoroughly;
2. Accurate measurement and meticulous construction to ensure that the spacing and position of Z Furring Channel meet design requirements and safety standards;
3. Use appropriate installation tools and materials to ensure that the Z Furring Channel is securely and stably installed;
4. Pay attention to safe operation and avoid accidents during installation;
5. Regularly inspect and maintain the Z Furring Channel to ensure its long-term stable operation.
In short, the installation of Z Furring Channel is a process that requires precise measurement, meticulous construction, and strict adherence to installation steps. By following the correct installation methods and precautions, the stability and durability of Z Furring Channel can be ensured, providing reliable support for wall decoration and accessory installation.
c channel metal furring
metal furring channel sizes
Related Article
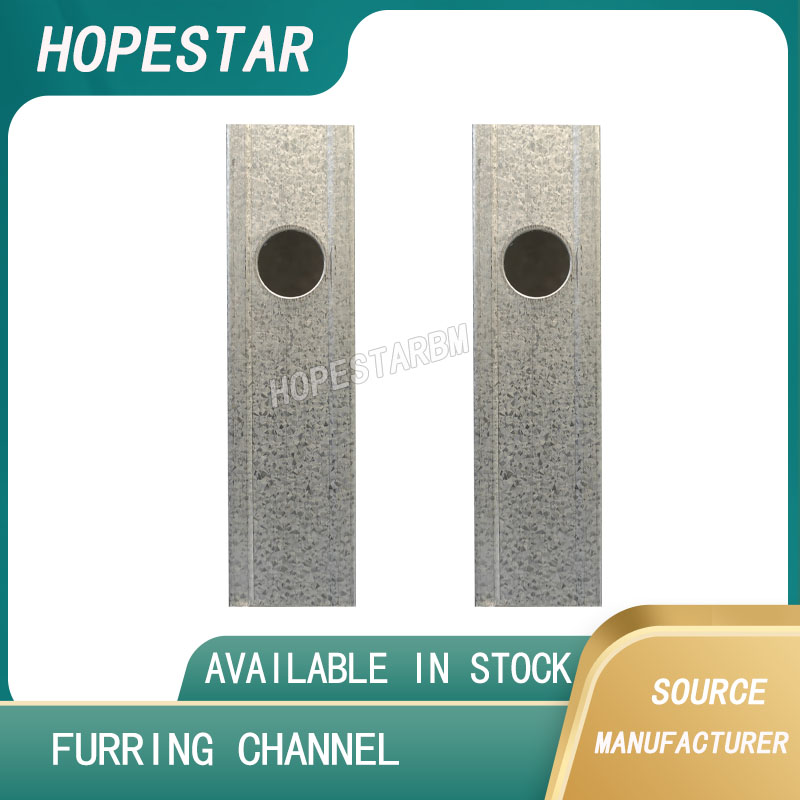
Ceiling wall angle, also known as perimeter angle or L-angle, is an indispensable L-shaped metal profile for suspended drywall ceiling systems. Roll-formed from cold-rolled galvanized steel, ceiling wall angle is fixed along the wall perimeter to support the ends of main channels and furring channels,
Ceiling Wall Angle – Galvanized L-Shaped Perimeter Trim for Suspended Drywall Ceilings
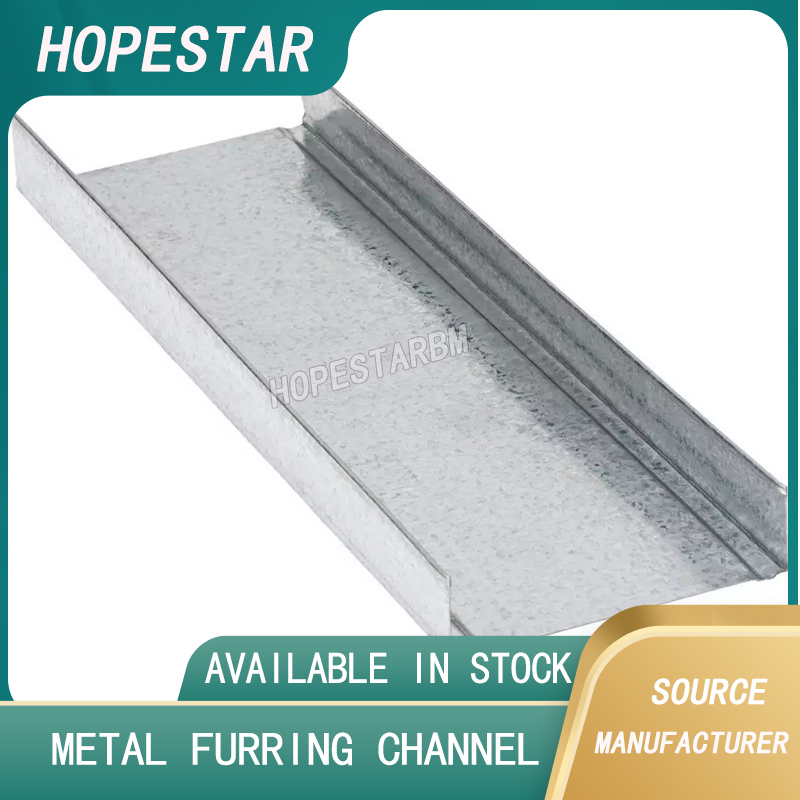
Galvanized steel profiles are the foundational metal framing components widely used in modern interior construction. Roll-formed from cold-rolled steel coated with protective zinc layer, galvanized steel profiles cover a full range of shapes including C studs, U tracks, omega channels,
Galvanized Steel Profiles – Reliable Cold Rolled Framing for Drywall Walls and Ceilings
Metal furring channel for ceiling is a vital secondary framing component widely used in suspended ceiling and drywall ceiling systems. Roll-formed from cold-rolled galvanized steel, this lightweight metal profile works together with main channels, hangers and wall angles to create a level,
Metal Furring Channel for Ceiling – Galvanized Secondary Framing for Suspended Drywall Ceilings

Metal omega channel, also widely called omega furring channel or hat channel, is an indispensable secondary metal framing profile for modern suspended ceilings and drywall wall furring systems. Named after its distinctive Ω shape, this profile is roll-formed from cold-rolled galvanized steel
Metal Omega Channel – Galvanized Omega Furring Channel for Drywall Ceiling and Wall Framing