
Six major steps in the construction process of light steel keel suspended ceiling
2024-06-19
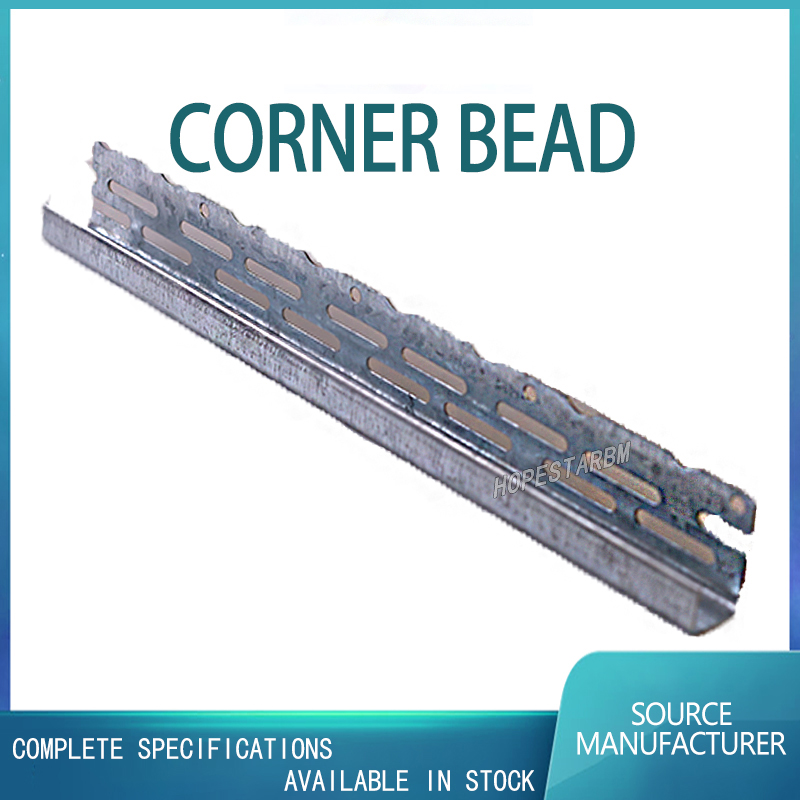
Light steel keel refers to the main material made of light steel, used for ceiling suspension. It is connected to the floor slab through screws to fix the ceiling or objects. Light steel keel ceiling is a commonly used type of ceiling in our decoration. Let's take a look at the six steps of ceiling construction together!
1. Measurement and laying out
Draw lines on the surrounding walls according to the design elevation of the ceiling, and mark the horizontal control line clearly and accurately. The spacing between the hanging bars is between 900-1200mm, and the distance between the first row of hanging bars and the wall is less than 300mm, ensuring that the hanging bars along the main keel direction are in a straight line.
2. Install the main keel
In order to ensure the stability of the entire skeleton, we need to use expansion bolts to fix the angle steel. After the horizontal line of the ceiling elevation or the dividing line of the keel is marked, the elevation of the lower end of the suspension rod should be determined, and the suspension rod should not come into contact with professional pipelines. If there is a conflict, steel supports should be used for filtering.
When installing the main keel, the distance between the suspension points of the main keel should be less than 1.2m, and the distance between the main keel and the wall should not exceed 300mm. Hanging rods should be added to strengthen the connection of the main keel.
3. Install secondary keel
The secondary keel is divided into two types: clear keel and dark keel. The secondary keel is divided into T-shaped painted keel and T-shaped aluminum alloy keel, and various strip buckle plate manufacturers are equipped with dedicated keels. The secondary keel should be installed tightly against the main keel, with a spacing of 300-600mm. The secondary keel should be fixed to the main keel using T-shaped galvanized iron connectors. The two ends of the secondary keel should be placed on the horizontal flange of the L-shaped edge keel, and the strip buckle plate has a dedicated internal corner line as the side keel.
The spacing between secondary keels is generally not greater than 400mm. In humid areas and places, the spacing should be 300-400mm, and adjacent secondary keels should be staggered and connected.
4. Edge keel fixation
The edge keel can be made of L (U) shaped galvanized light steel bars, which can be fixed with shooting nails on concrete walls and columns. The distance between shooting nails should be ≤ the distance between suspended ceiling keels. When fixing, high-strength cement nails are generally used with a spacing of ≤ 500mm.
If the strength of the base material is low and the fastening force is not good, corresponding measures should be taken, such as using expansion bolts or increasing the length of nails.
5. Keel skeleton correction
Conduct a comprehensive inspection and calibration of the installed ceiling keel framework. After the structural position and levelness of the main and secondary keels are qualified, tighten all hanging and connecting parts, clamp them firmly, and ensure the overall stability and reliability of the framework.
6. Install gypsum board
Suspended installation: flat lap joint, exposed ceiling installation. The decorative gypsum board will be overlapped within the framework frame of the T-shaped keel assembly, and the decorative keel of the ceiling will be exposed. When installing panels, there should be installation gaps for the panels, and the gap on each side should not exceed 1mm. The installation of gypsum board starts from the middle of the ceiling in the direction of the main keel, with the long side of the gypsum board aligned with the direction of the main keel, extending and branching towards both sides.
The fixed cover panel should be fixed with galvanized self tapping screws. During installation, the screws should be fixed from the middle of the board to the surrounding areas. The spacing between the screws should be controlled between 150-200mm. The screw cap should sink into the board by 0.5-1.0mm, but should not penetrate the paper surface. Anti rust paint should be applied to the screw cap, and the distance between the screws and the board edge should be 10-15mm.
Specification of C-type light steel keel
How to construct light steel keel suspended ceiling
Related Article
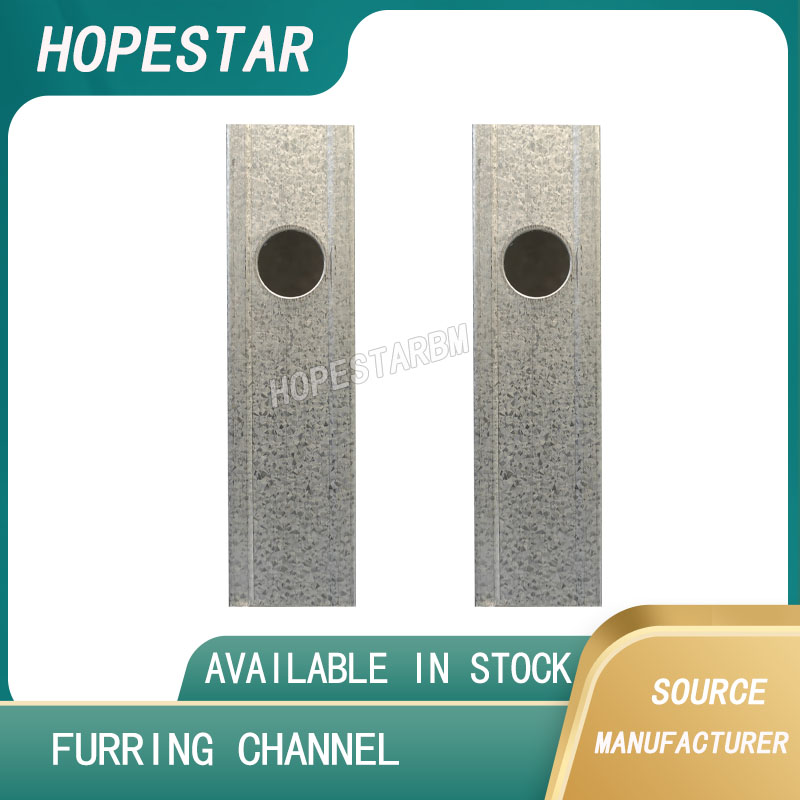
Ceiling wall angle, also known as perimeter angle or L-angle, is an indispensable L-shaped metal profile for suspended drywall ceiling systems. Roll-formed from cold-rolled galvanized steel, ceiling wall angle is fixed along the wall perimeter to support the ends of main channels and furring channels,
Ceiling Wall Angle – Galvanized L-Shaped Perimeter Trim for Suspended Drywall Ceilings
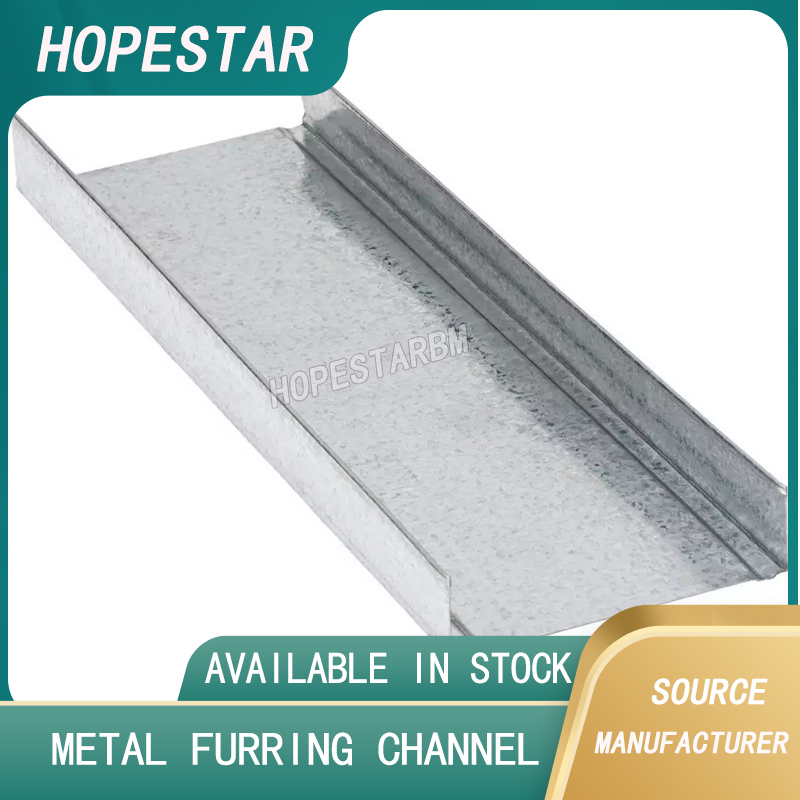
Galvanized steel profiles are the foundational metal framing components widely used in modern interior construction. Roll-formed from cold-rolled steel coated with protective zinc layer, galvanized steel profiles cover a full range of shapes including C studs, U tracks, omega channels,
Galvanized Steel Profiles – Reliable Cold Rolled Framing for Drywall Walls and Ceilings
Metal furring channel for ceiling is a vital secondary framing component widely used in suspended ceiling and drywall ceiling systems. Roll-formed from cold-rolled galvanized steel, this lightweight metal profile works together with main channels, hangers and wall angles to create a level,
Metal Furring Channel for Ceiling – Galvanized Secondary Framing for Suspended Drywall Ceilings

Metal omega channel, also widely called omega furring channel or hat channel, is an indispensable secondary metal framing profile for modern suspended ceilings and drywall wall furring systems. Named after its distinctive Ω shape, this profile is roll-formed from cold-rolled galvanized steel
Metal Omega Channel – Galvanized Omega Furring Channel for Drywall Ceiling and Wall Framing