
How to install the edge keel of light steel keel
2024-03-20
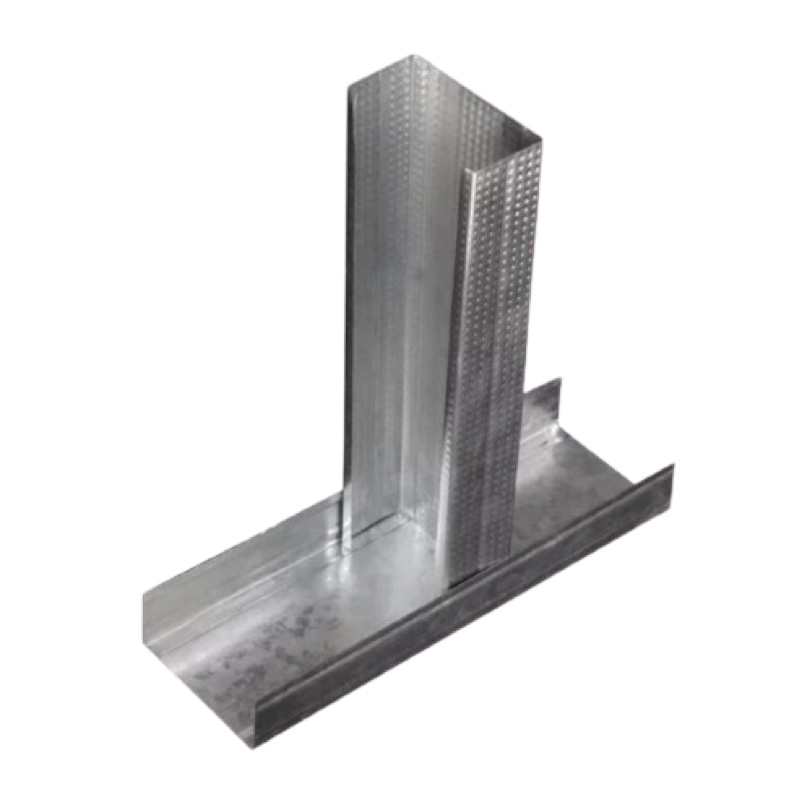
How to install the edge keel of light steel keel
The installation of light steel keel edge keel is a task that requires professional skills and meticulous operation. Correctly installing the edge keel can ensure the stability and aesthetics of the ceiling system. The following will provide a detailed introduction to the installation steps and precautions for light steel keel edge keels.
Firstly, preparation work is crucial. Before starting the installation, it is necessary to ensure that the construction site is clean and tidy to avoid any debris or obstacles interfering with the installation process. At the same time, it is necessary to prepare the necessary tools and materials, including light steel keel, edge keel, suspension rod, hook, expansion bolt, screwdriver, cutting machine, etc. Ensure that the quality of these tools and materials meets the requirements to avoid affecting the installation effect.
Next, determine the height and position of the ceiling. According to the design requirements, use a level and ink line to determine the height and position of the ceiling, ensuring its flatness and levelness. At the same time, mark the position of the edge keel on the wall for subsequent installation.
Then, install the suspension rod and hook. According to the height and position of the ceiling, use expansion bolts to fix the suspension rod to the wall. The length of the suspension rod should be adjusted according to the actual situation to ensure the stability and load-bearing capacity of the ceiling system. Install a hook at the top of the suspension rod for the subsequent installation of a light steel keel.
Next, install the light steel keel. According to the design requirements, use a cutting machine to cut the light steel keel into appropriate lengths and match it with the edge keel. Hang the light steel keel on the hook and secure it with a screwdriver. Ensure the level and verticality of the light steel keel to avoid tilting or twisting. At the same time, it is necessary to check whether the spacing between the light steel keel is even to ensure the overall stability of the ceiling system.
Finally, install the side keel. The edge keel is an important component of the ceiling system, which can fix the position of the light steel keel and ensure the firmness of the ceiling system. Connect the edge keel to the light steel keel and secure it with screws. During the connection process, it is necessary to ensure that the gap between the edge keel and the light steel keel is appropriate to avoid situations where it is too tight or too loose. At the same time, it is necessary to check the flatness and verticality of the edge keel to ensure its installation quality.
During the installation process, it is also necessary to pay attention to the following points: first, ensure safety during the installation process and avoid accidents. Secondly, it is necessary to follow the installation sequence, first install the suspension rod and hook, and then install the light steel keel and side keel. Finally, carefully inspect each installation step to ensure that the installation quality meets the requirements.
In short, the installation of light steel keel requires professional skills and meticulous operation. By following the correct installation steps and precautions, the stability and aesthetics of the ceiling system can be ensured. I hope this article's introduction can be helpful to everyone and provide some reference and guidance for the installation process of light steel keel edge keels.
What is a furring channel and how to use
How much does the light steel keel ceiling cost
Related Article
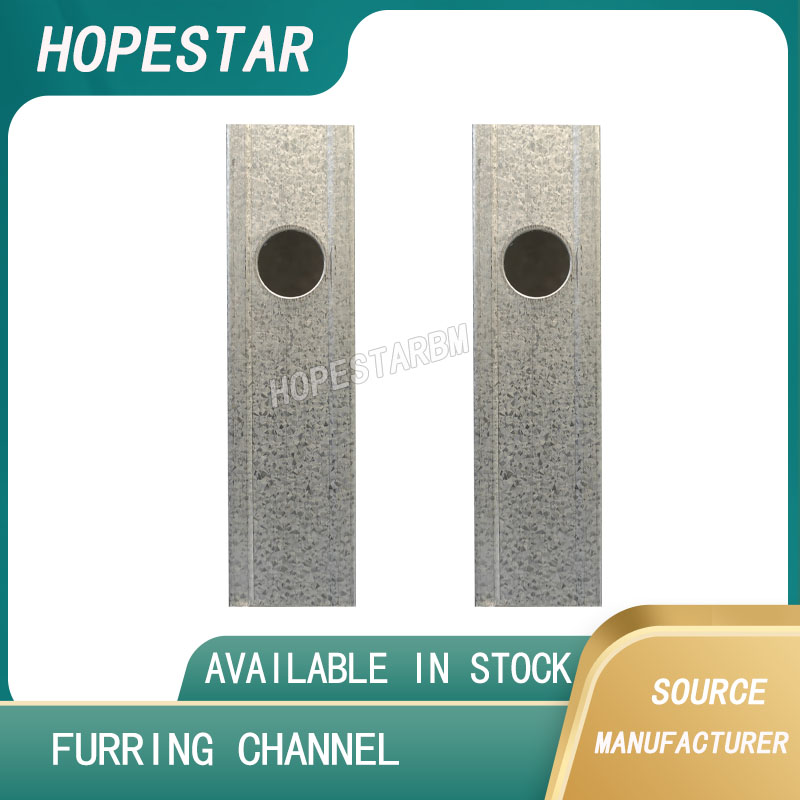
Ceiling wall angle, also known as perimeter angle or L-angle, is an indispensable L-shaped metal profile for suspended drywall ceiling systems. Roll-formed from cold-rolled galvanized steel, ceiling wall angle is fixed along the wall perimeter to support the ends of main channels and furring channels,
Ceiling Wall Angle – Galvanized L-Shaped Perimeter Trim for Suspended Drywall Ceilings
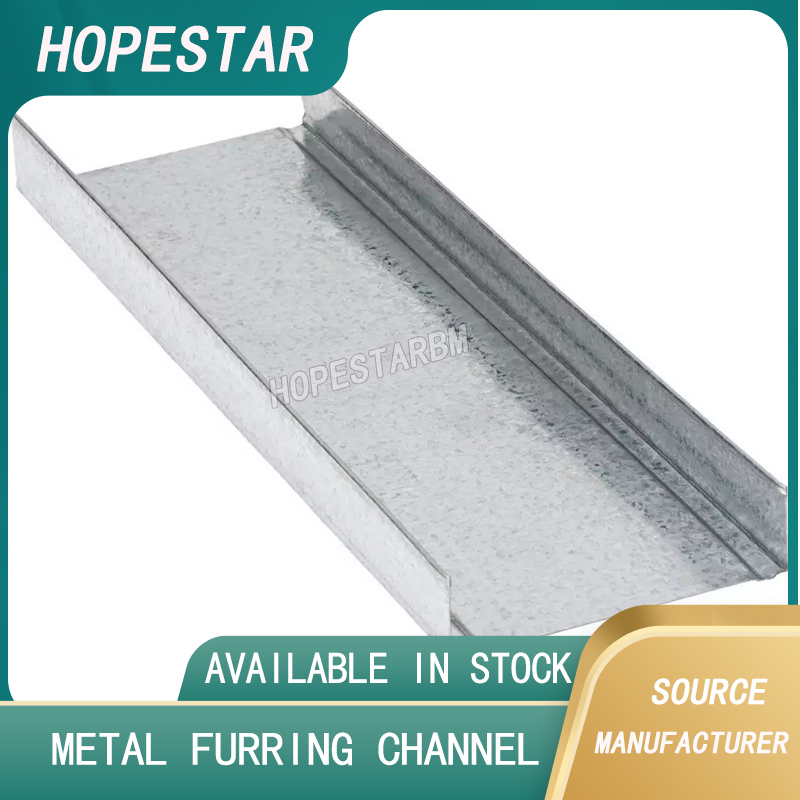
Galvanized steel profiles are the foundational metal framing components widely used in modern interior construction. Roll-formed from cold-rolled steel coated with protective zinc layer, galvanized steel profiles cover a full range of shapes including C studs, U tracks, omega channels,
Galvanized Steel Profiles – Reliable Cold Rolled Framing for Drywall Walls and Ceilings

Metal furring channel for ceiling is a vital secondary framing component widely used in suspended ceiling and drywall ceiling systems. Roll-formed from cold-rolled galvanized steel, this lightweight metal profile works together with main channels, hangers and wall angles to create a level,
Metal Furring Channel for Ceiling – Galvanized Secondary Framing for Suspended Drywall Ceilings

Metal omega channel, also widely called omega furring channel or hat channel, is an indispensable secondary metal framing profile for modern suspended ceilings and drywall wall furring systems. Named after its distinctive Ω shape, this profile is roll-formed from cold-rolled galvanized steel
Metal Omega Channel – Galvanized Omega Furring Channel for Drywall Ceiling and Wall Framing