
Furring Channel Installation Steps
2022-10-16
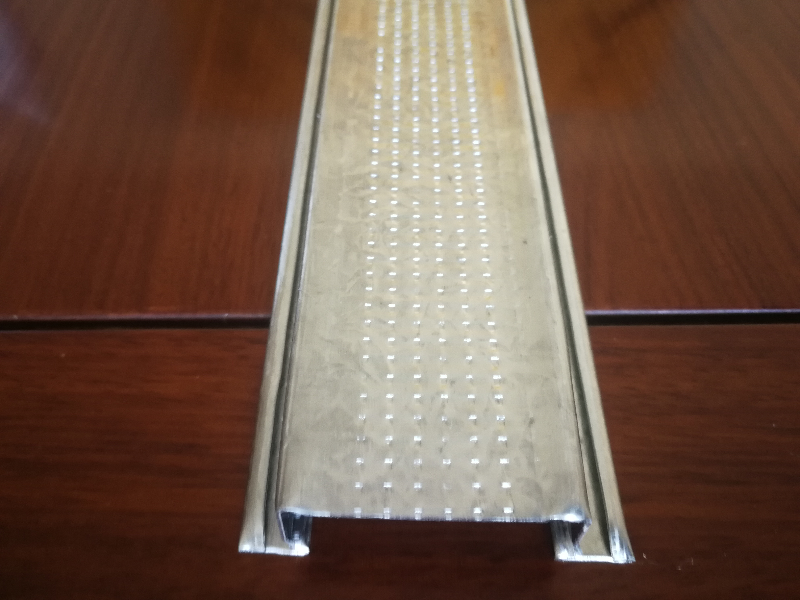
Furring Channel Installation Steps.The Hopestar rugged system is designed to be combined with Hopestar 22 mm lath.
Refer to the following for installation instructions.
If you need further assistance,please contact the Hopestar team.
Installation instructions.
Step one:prepare for the work.
Determine the height of the finished ceiling according to architectural design and mechanical maintenance requirements.
The preparatory work of Steel Rolling products Co.,Ltd.
Step 2:perimeter channel.
The surrounding channel is fixed around the wall with 8 32 mm screws in the center.This will provide sufficient edge support to supplement the suspension.
Perimeter channel of steel rolling products co.,Ltd.
Step 3:eyedropper installation.
Place the 20 x 20 solid hanger or steel wire above the sturdy backplane in the specified center.Tie down the wire or screw the boom to a strong backplane.Completely break the wire once around the vertical strand,and then twist back at least 3 turns by yourself,setting a strong height so that the button is fastened to the solid bottom and falls in the surrounding channel.
Suspender installation of steel rolling products co.,Ltd.
Step 4:StrongBack installation.
The rugged backplane is connected by a 200 mm back-to-back lap and screwed together with two self-tightening wafer head screws.If a perimeter runway is used,the upper leg provides a suitable landing for the back.If you use an angle,provide a short lath Packer between the back and the angle,or place the lath near the perimeter angle.Once the fur belt is placed at the appropriate fixed point on the surface of the ceiling lath,lock the ceiling lath to the sturdy front edge of the back with a fur belt receiving slot.
Steel Rolling products Co.,Ltd.Rear plate installation.
Step 5:lath splicing.
Lath connections can be achieved by using lath connectors with a minimum length of 200 mm to allow each side of the docking nodes to overlap by 100 mm.These screws must be secured in place with wafer technology screws,at least two screws within 100 mm,and no more than 12 mm from the butt joint.All plate connections and reinforced back connections should be staggered.
Plate welding of steel rolling products co.,Ltd.
Step 6:fix the end of the lath.
Use a wafer head screw to secure the two ends of the lath to the surrounding part.
For 10 mm Gib plasterboard,the spacing of the ceiling lath is 450 centers,and for 13 mm Gib plasterboard,the spacing of the ceiling lath is 600 centers.
Let’s grow together.We have advanced production equipment,leading production techniques,and strictly quality control.And We manufacture products from high-quality steel coils,products,and sales service make as your one-stop decoration construction supply shop.Hopestar Building is the senior steel manufacturer,the factory has more than 50 sets of production lines for galvanized steel profiles,T grid,and Accessories.The annual product quantity is 20,000 Tons.The factory has developed business with South America,Europe,Africa,and Oceania.we supply and have a commitment to making customers’projects a reality.
Top Cross Rail Strength
Top Cross Rail Service
Related Article
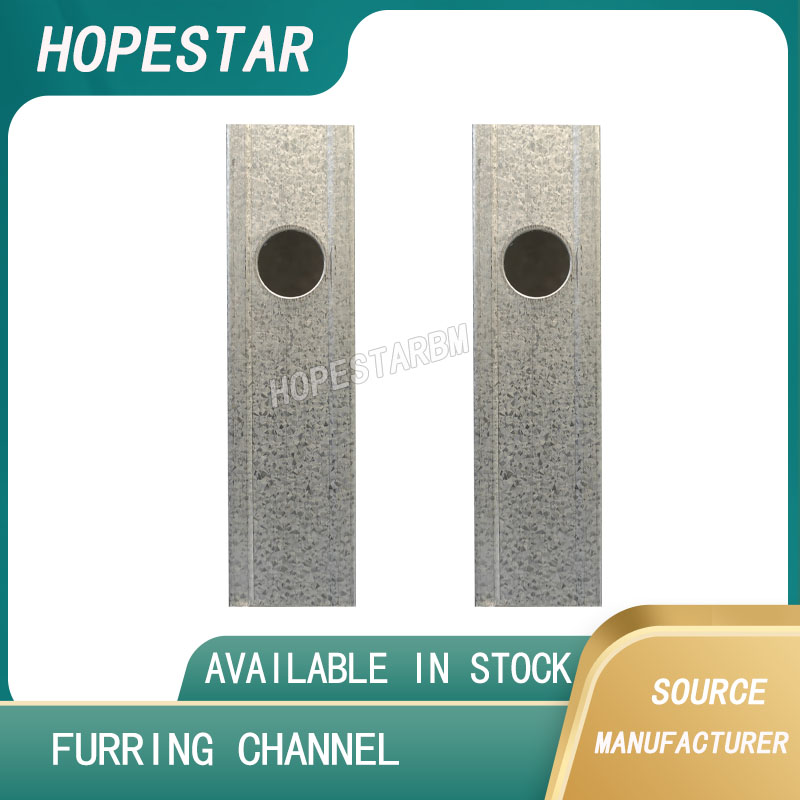
Ceiling wall angle, also known as perimeter angle or L-angle, is an indispensable L-shaped metal profile for suspended drywall ceiling systems. Roll-formed from cold-rolled galvanized steel, ceiling wall angle is fixed along the wall perimeter to support the ends of main channels and furring channels,
Ceiling Wall Angle – Galvanized L-Shaped Perimeter Trim for Suspended Drywall Ceilings
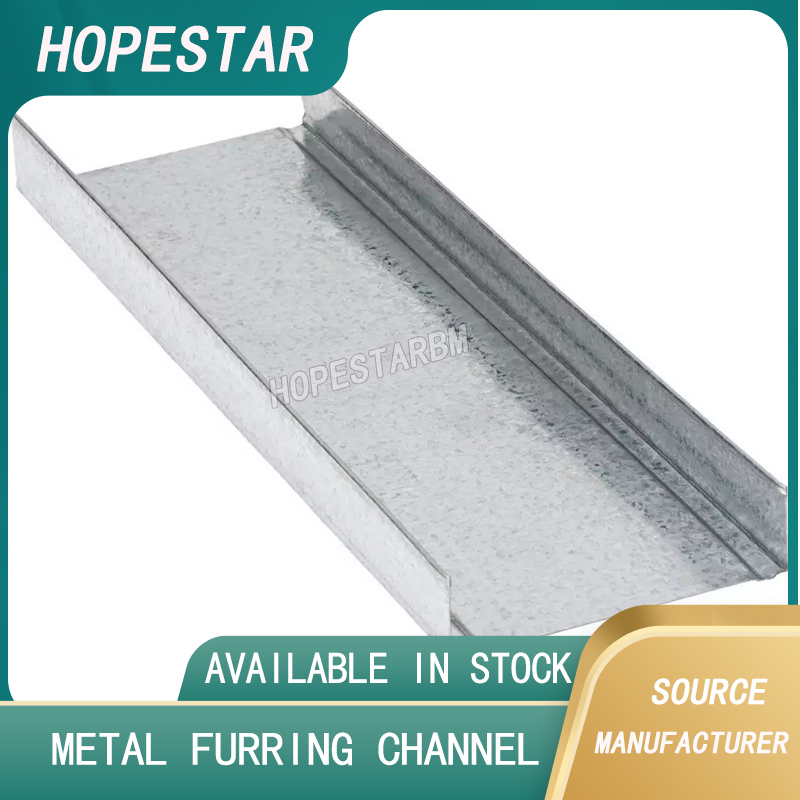
Galvanized steel profiles are the foundational metal framing components widely used in modern interior construction. Roll-formed from cold-rolled steel coated with protective zinc layer, galvanized steel profiles cover a full range of shapes including C studs, U tracks, omega channels,
Galvanized Steel Profiles – Reliable Cold Rolled Framing for Drywall Walls and Ceilings

Metal furring channel for ceiling is a vital secondary framing component widely used in suspended ceiling and drywall ceiling systems. Roll-formed from cold-rolled galvanized steel, this lightweight metal profile works together with main channels, hangers and wall angles to create a level,
Metal Furring Channel for Ceiling – Galvanized Secondary Framing for Suspended Drywall Ceilings

Metal omega channel, also widely called omega furring channel or hat channel, is an indispensable secondary metal framing profile for modern suspended ceilings and drywall wall furring systems. Named after its distinctive Ω shape, this profile is roll-formed from cold-rolled galvanized steel
Metal Omega Channel – Galvanized Omega Furring Channel for Drywall Ceiling and Wall Framing