
wall metal furring,how to install?
2024-06-14
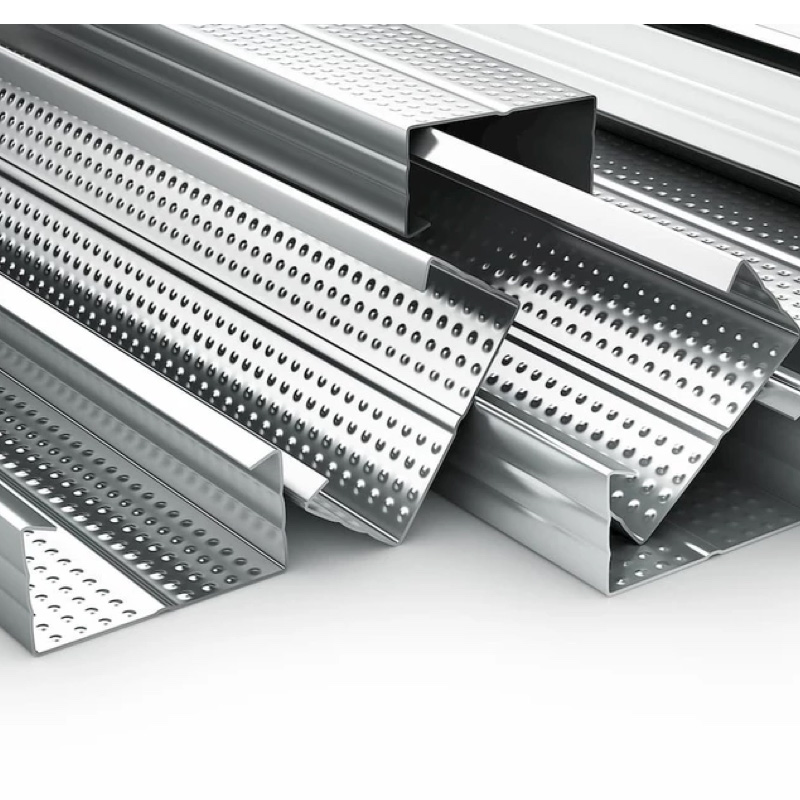
wall metal furring,how to install?When installing wall metal furring, we need to follow a series of detailed steps to ensure its stability, safety, and aesthetics. The following is a detailed installation guide to help you successfully complete the installation of wall metal furring.
Firstly, we need to prepare the necessary tools and materials. These include: wall metal furring keel, keel connectors, self tapping screws, electric drills, rulers, pencils, level rulers, hammers, metal cutting saws, etc. Ensure that you have purchased a sufficient number of keels and connectors, and cut them according to the wall size.
Before installing wall metal furring, we need to treat the wall surface. Ensure that the wall is flat, dry, and clean, free of oil, dust, and debris. If there are unevenness or defects on the wall, it needs to be repaired or filled. At the same time, determine the horizontal and vertical lines of the wall to provide reference for subsequent keel installation.
Next, we will start installing the wall metal furring keel. Firstly, use a ruler and pencil to mark the position of the keel around the wall. Usually, the spacing between keels will be adjusted according to actual needs, but it is generally recommended to be between 600mm and 1200mm. After marking the position, use an electric drill to drill holes on the wall for the installation of keel connectors.
wall metal furring,how to install?When installing the keel connectors, ensure that they are tightly attached to the wall and fix them to the wall using self tapping screws. Then, align the keel with the connector and gently tap the keel with a hammer to tightly connect it with the connector. When connecting the keels, make sure they remain horizontal or vertical, and use a level to check and adjust.
During the installation process, it is necessary to pay attention to the following points: first, ensure that the connection between the keel and the wall is firm and reliable to avoid loosening or falling off. Secondly, maintain consistent spacing between the keel to ensure the flatness and aesthetics of the wall. In addition, during the installation process, pay attention to protecting the wall to avoid scratches or damage.
After completing the installation of the keel, we need to inspect and adjust it. Check if the keel is securely and smoothly installed, and make necessary adjustments. At the same time, check whether the wall is flat, free of bumps or defects, to ensure that the installation effect meets expectations.
The next step is to install the wall metal furring panel. Choose appropriate panel materials, such as gypsum board, aluminum board, etc., and cut according to the wall size. Apply specialized adhesive to the back of the panel and stick it onto the keel. Pay attention to ensuring that the panel is tightly fitted to the keel without any gaps. Fix the panel to the keel using self tapping screws to ensure secure fixation.
When installing the panel, it is also necessary to pay attention to the following points: first, ensure that the connection between the panel and the keel is firm and reliable, to avoid falling off or loosening. Secondly, pay attention to maintaining the flatness and verticality of the panel to avoid tilting or warping. In addition, when pasting panels, ensure that the glue is applied evenly and appropriately to avoid overflow or insufficient glue.
wall metal furring,how to install?After completing the installation of the panel, we will conduct another inspection and adjustment. Check if the panel is installed smoothly, without bumps or defects, and make necessary adjustments. At the same time, check the installation effect of the entire wall to ensure the expected aesthetics and practicality are achieved.
Finally, we will carry out cleaning and closing work. Clean up debris and dust on the wall to ensure it is clean and tidy. Meanwhile, properly store or dispose of the remaining materials such as keels and panels.
By following the above steps, we can successfully install wall metal furring. During the installation process, attention should be paid to safety, attention to detail, and patience to ensure that every step is carried out in accordance with specifications and requirements. After installation, we can achieve a stable, beautiful, and practical wall decoration effect, adding a unique charm to the indoor space.
It should be noted that the installation of wall metal furring may vary depending on the wall material, keel, and panel type. wall metal furring,how to install?Therefore, in the actual installation process, it is recommended to flexibly adjust the installation steps and methods according to the specific situation. Meanwhile, it is recommended to refer to the installation guidelines and precautions provided by the manufacturer to ensure the best installation effect.
In short, installing wall metal furring is a job that requires professional skills and careful operation. By following the above steps and precautions, we can successfully complete the installation task and bring a unique and beautiful decorative effect to the indoor space.
furring hat channel,Features and uses
suspended ceiling furring channel,how much?
Related Article
Ceiling wall angle, also known as perimeter angle or L-angle, is an indispensable L-shaped metal profile for suspended drywall ceiling systems. Roll-formed from cold-rolled galvanized steel, ceiling wall angle is fixed along the wall perimeter to support the ends of main channels and furring channels,
Ceiling Wall Angle – Galvanized L-Shaped Perimeter Trim for Suspended Drywall Ceilings
Galvanized steel profiles are the foundational metal framing components widely used in modern interior construction. Roll-formed from cold-rolled steel coated with protective zinc layer, galvanized steel profiles cover a full range of shapes including C studs, U tracks, omega channels,
Galvanized Steel Profiles – Reliable Cold Rolled Framing for Drywall Walls and Ceilings
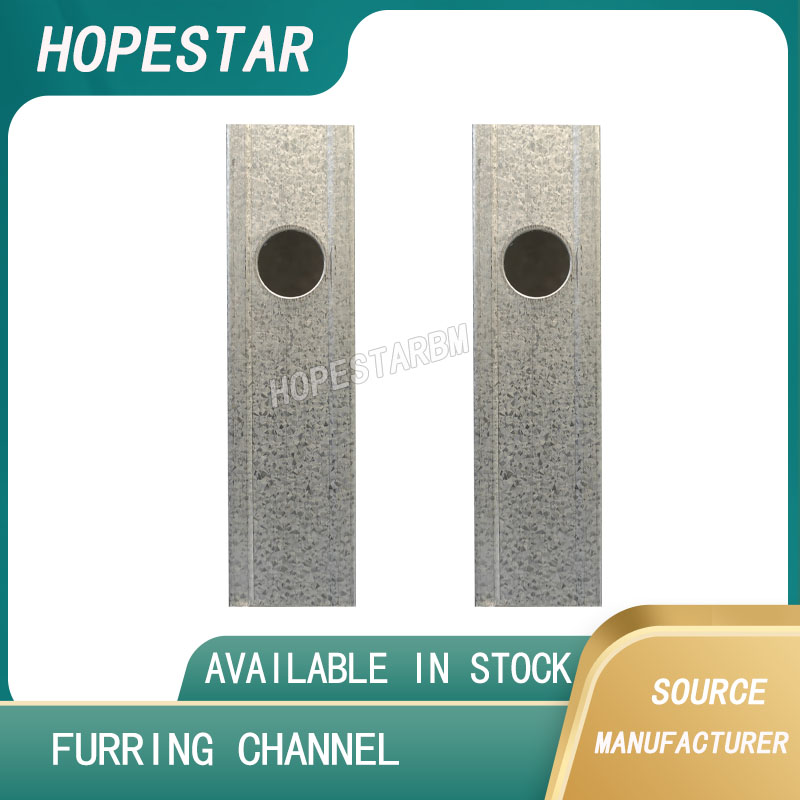
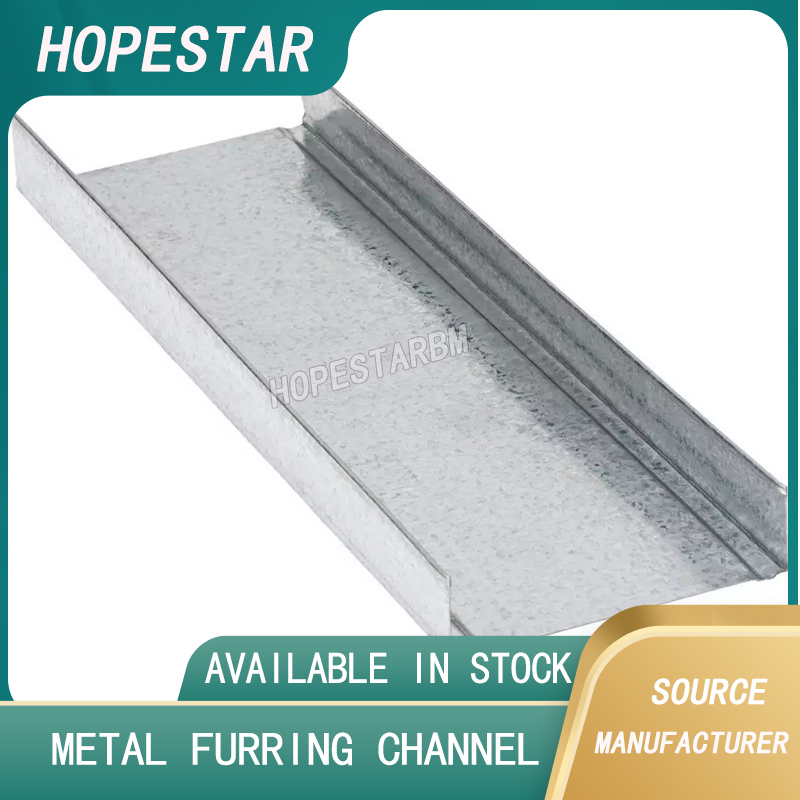
Metal furring channel for ceiling is a vital secondary framing component widely used in suspended ceiling and drywall ceiling systems. Roll-formed from cold-rolled galvanized steel, this lightweight metal profile works together with main channels, hangers and wall angles to create a level,
Metal Furring Channel for Ceiling – Galvanized Secondary Framing for Suspended Drywall Ceilings

Metal omega channel, also widely called omega furring channel or hat channel, is an indispensable secondary metal framing profile for modern suspended ceilings and drywall wall furring systems. Named after its distinctive Ω shape, this profile is roll-formed from cold-rolled galvanized steel
Metal Omega Channel – Galvanized Omega Furring Channel for Drywall Ceiling and Wall Framing