
Metal corner bead how to install
2025-04-23
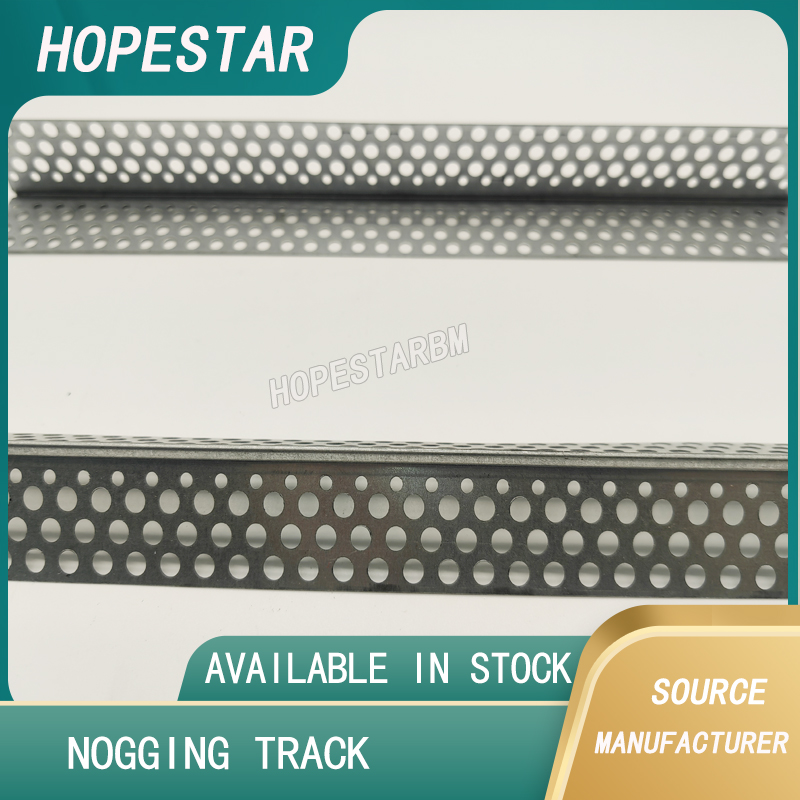
Installing a metal corner bead is a crucial part of finishing drywall, and it provides clean, durable edges for the corners of your walls. Here’s a step-by-step guide to installing it:
Materials & Tools You’ll Need:
Materials & Tools You’ll Need:
Metal corner bead (typically galvanized steel)
Drywall screws or nails
Tape measure
Level (optional but useful)
Tin snips (for cutting the metal corner bead)
Joint compound (drywall mud)
Taping knife or drywall knife (6 to 12 inches)
Drywall screw gun or hammer (for nails)
Utility knife (for cutting drywall)
Drywall tape (optional)
Step-by-Step Installation:
1. Prepare the Corner
Measure and cut drywall if needed so that it’s flush with the edges where the corner bead will be placed. Make sure the drywall fits well into the corner of the room.
1. Prepare the Corner
Measure and cut drywall if needed so that it’s flush with the edges where the corner bead will be placed. Make sure the drywall fits well into the corner of the room.
Check the corner alignment: If the corner isn't square, you may need to adjust your drywall or use a corner bead that is flexible to fit the uneven angle.
2. Measure and Cut the Metal Corner Bead
Use your tape measure to determine the correct length of the corner bead. Cut it with tin snips to the precise length needed for the corner. Make sure to leave a small gap (about 1/8 inch) at the top and bottom of the corner bead to allow for movement and prevent the bead from touching the floor or ceiling.
Use your tape measure to determine the correct length of the corner bead. Cut it with tin snips to the precise length needed for the corner. Make sure to leave a small gap (about 1/8 inch) at the top and bottom of the corner bead to allow for movement and prevent the bead from touching the floor or ceiling.
If you're working with longer walls, you may need to join multiple pieces of corner bead. Simply overlap the ends and secure them together.
3. Position the Corner Bead
Place the corner bead over the corner of the drywall. Make sure the metal flanges (the edges of the bead) are sitting flat against the drywall. The vertical part of the corner bead should be centered on the corner.
Place the corner bead over the corner of the drywall. Make sure the metal flanges (the edges of the bead) are sitting flat against the drywall. The vertical part of the corner bead should be centered on the corner.
Level the bead if necessary, ensuring it’s straight and aligned with the edges of the drywall.
4. Attach the Corner Bead
Use drywall nails or screws to secure the metal corner bead to the drywall. The nails or screws should be placed about every 6 to 8 inches along both sides of the corner bead (in the flanges). Don’t place them too close to the corner itself — leave about 1/2 inch away from the corner to avoid damaging the bead when applying mud.
Use drywall nails or screws to secure the metal corner bead to the drywall. The nails or screws should be placed about every 6 to 8 inches along both sides of the corner bead (in the flanges). Don’t place them too close to the corner itself — leave about 1/2 inch away from the corner to avoid damaging the bead when applying mud.
Make sure the nails or screws are slightly recessed into the surface, just enough so that the joint compound can cover them without leaving visible divots.
5. Apply the First Coat of Joint Compound
Using a taping knife, apply a thin layer of joint compound (drywall mud) over the corner bead, covering the bead and the edges of the drywall.
Using a taping knife, apply a thin layer of joint compound (drywall mud) over the corner bead, covering the bead and the edges of the drywall.
Feather out the mud as you go, making sure it’s smooth and blends seamlessly into the wall. Try to avoid applying too much mud — you can always add more in later coats, but the goal is to cover the bead while making the edges as smooth as possible.
6. Let It Dry & Sand
Allow the joint compound to dry completely (this usually takes about 24 hours, depending on the thickness and humidity).
Allow the joint compound to dry completely (this usually takes about 24 hours, depending on the thickness and humidity).
After it’s dry, use a fine-grit sandpaper or sanding block to smooth the area. Be gentle so you don’t sand too much or damage the metal corner bead.
7. Apply Additional Coats of Mud
Apply additional coats of joint compound as needed, each time slightly wider than the last, to feather out the edges and create a smooth, seamless finish.
Apply additional coats of joint compound as needed, each time slightly wider than the last, to feather out the edges and create a smooth, seamless finish.
After each coat dries, sand it down until the corner is smooth and blends with the surrounding wall.
8. Final Sanding and Finishing
Once the final coat of mud has dried, do a final light sanding to ensure the corner is smooth and ready for painting.
Once the final coat of mud has dried, do a final light sanding to ensure the corner is smooth and ready for painting.
At this point, the metal corner bead should be fully concealed and the corner should be perfectly straight and sharp.
High Quality Drywall Steel Characteristics
Which is better, metal or plastic corner bead?
Related Article

Ceiling wall angle, also known as perimeter angle or L-angle, is an indispensable L-shaped metal profile for suspended drywall ceiling systems. Roll-formed from cold-rolled galvanized steel, ceiling wall angle is fixed along the wall perimeter to support the ends of main channels and furring channels,
Ceiling Wall Angle – Galvanized L-Shaped Perimeter Trim for Suspended Drywall Ceilings

Galvanized steel profiles are the foundational metal framing components widely used in modern interior construction. Roll-formed from cold-rolled steel coated with protective zinc layer, galvanized steel profiles cover a full range of shapes including C studs, U tracks, omega channels,
Galvanized Steel Profiles – Reliable Cold Rolled Framing for Drywall Walls and Ceilings

Metal furring channel for ceiling is a vital secondary framing component widely used in suspended ceiling and drywall ceiling systems. Roll-formed from cold-rolled galvanized steel, this lightweight metal profile works together with main channels, hangers and wall angles to create a level,
Metal Furring Channel for Ceiling – Galvanized Secondary Framing for Suspended Drywall Ceilings

Metal omega channel, also widely called omega furring channel or hat channel, is an indispensable secondary metal framing profile for modern suspended ceilings and drywall wall furring systems. Named after its distinctive Ω shape, this profile is roll-formed from cold-rolled galvanized steel
Metal Omega Channel – Galvanized Omega Furring Channel for Drywall Ceiling and Wall Framing