
How to install the light steel keel ceiling
2024-04-08
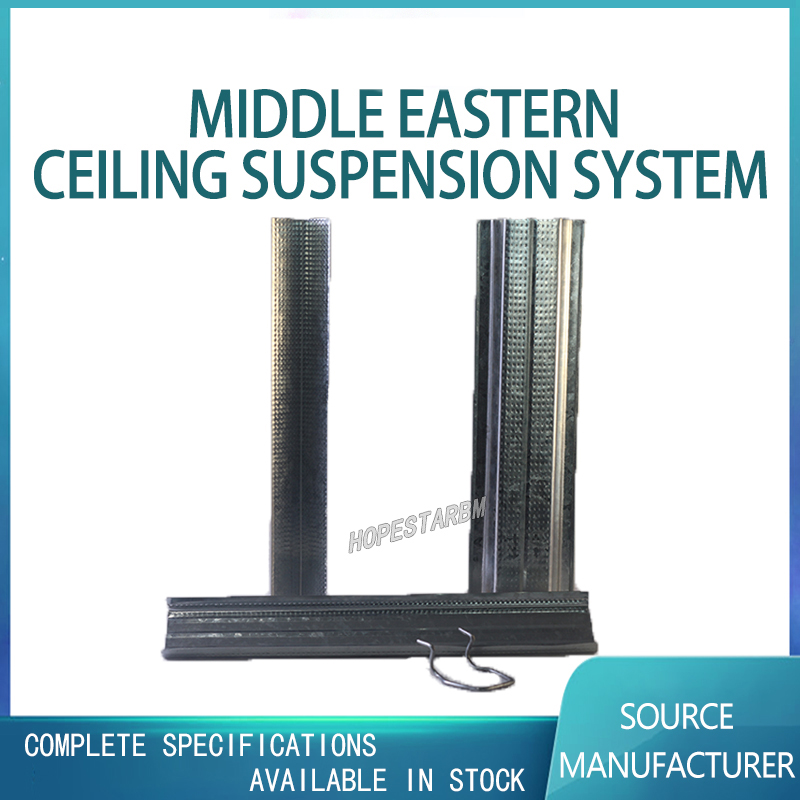
Light steel keel ceiling is a common ceiling material with advantages such as light weight, high strength, fire and moisture resistance, and easy installation. Therefore, it is widely used in home decoration and commercial places. Next, we will provide a detailed introduction to the installation steps and precautions for light steel keel suspended ceilings.
1、 Prepare materials and tools
Before installing the light steel keel ceiling, the following materials and tools need to be prepared:
1. Light steel keel ceiling materials, including keel, suspension rod, buckle plate, etc;
2. Special hooks, rings, connectors, etc. for suspended ceilings;
3. Special screwdriver, hammer, electric drill, level, etc. for ceiling.
2、 Determine the height and position of the ceiling
Before installing the light steel keel ceiling, it is necessary to first determine the height and position of the ceiling. Generally speaking, the height of the ceiling should be determined based on the height of the room and the decoration style, while also taking into account the location and installation requirements of lighting fixtures, air conditioning and other equipment. After determining the height and position of the ceiling, it is necessary to use a level to mark the horizontal and vertical lines of the ceiling on the wall for subsequent installation.
3、 Install keel
1. Based on the height and position of the ceiling, determine the spacing and arrangement of the keel. Generally, the spacing of the keel is about 600mm;
2. Install a dedicated ceiling hook on the wall, thread the suspension rod through the hook, and connect the other end to the keel;
3. Adjust the keel to the correct position and height using a suspension rod according to the horizontal and vertical lines, and connect the keel with connectors to ensure overall stability.
4、 Install the buckle plate
1. Place the buckle plates on the keel according to the spacing and arrangement of the keel;
2. Use a dedicated screwdriver for the ceiling to fix the buckle plate to the keel, ensuring that the buckle plate is flat and stable;
When installing the buckle plates, it is necessary to pay attention to the arrangement order and direction of the buckle plates to avoid misalignment or unevenness.
5、 Install lighting fixtures, air conditioning and other equipment
After the installation of the ceiling is completed, lighting fixtures, air conditioning and other equipment can be installed as needed. During installation, attention should be paid to the position and height of the equipment to ensure coordination and aesthetics with the ceiling.
6、 Precautions
When installing light steel keel suspended ceilings, it is necessary to pay attention to safety and avoid accidents;
Before installation, it is necessary to carefully read the product manual to understand the performance of the materials and installation requirements;
During the installation process, it is necessary to maintain the cleanliness and smoothness of the wall to avoid scratches or dents;
After installation, it is necessary to carefully check the flatness and stability of the ceiling to ensure installation quality.
In short, the installation of light steel keel suspended ceiling is not complicated. Simply follow the steps, pay attention to safety and detail handling, and the installation can be completed smoothly. During the installation process, if you encounter problems or difficulties, you can seek help or advice from professionals.
1、 Prepare materials and tools
Before installing the light steel keel ceiling, the following materials and tools need to be prepared:
1. Light steel keel ceiling materials, including keel, suspension rod, buckle plate, etc;
2. Special hooks, rings, connectors, etc. for suspended ceilings;
3. Special screwdriver, hammer, electric drill, level, etc. for ceiling.
2、 Determine the height and position of the ceiling
Before installing the light steel keel ceiling, it is necessary to first determine the height and position of the ceiling. Generally speaking, the height of the ceiling should be determined based on the height of the room and the decoration style, while also taking into account the location and installation requirements of lighting fixtures, air conditioning and other equipment. After determining the height and position of the ceiling, it is necessary to use a level to mark the horizontal and vertical lines of the ceiling on the wall for subsequent installation.
3、 Install keel
1. Based on the height and position of the ceiling, determine the spacing and arrangement of the keel. Generally, the spacing of the keel is about 600mm;
2. Install a dedicated ceiling hook on the wall, thread the suspension rod through the hook, and connect the other end to the keel;
3. Adjust the keel to the correct position and height using a suspension rod according to the horizontal and vertical lines, and connect the keel with connectors to ensure overall stability.
4、 Install the buckle plate
1. Place the buckle plates on the keel according to the spacing and arrangement of the keel;
2. Use a dedicated screwdriver for the ceiling to fix the buckle plate to the keel, ensuring that the buckle plate is flat and stable;
When installing the buckle plates, it is necessary to pay attention to the arrangement order and direction of the buckle plates to avoid misalignment or unevenness.
5、 Install lighting fixtures, air conditioning and other equipment
After the installation of the ceiling is completed, lighting fixtures, air conditioning and other equipment can be installed as needed. During installation, attention should be paid to the position and height of the equipment to ensure coordination and aesthetics with the ceiling.
6、 Precautions
When installing light steel keel suspended ceilings, it is necessary to pay attention to safety and avoid accidents;
Before installation, it is necessary to carefully read the product manual to understand the performance of the materials and installation requirements;
During the installation process, it is necessary to maintain the cleanliness and smoothness of the wall to avoid scratches or dents;
After installation, it is necessary to carefully check the flatness and stability of the ceiling to ensure installation quality.
In short, the installation of light steel keel suspended ceiling is not complicated. Simply follow the steps, pay attention to safety and detail handling, and the installation can be completed smoothly. During the installation process, if you encounter problems or difficulties, you can seek help or advice from professionals.
Is the light steel keel ceiling sturdy?
What are the series of light steel keel
Related Article

Ceiling wall angle, also known as perimeter angle or L-angle, is an indispensable L-shaped metal profile for suspended drywall ceiling systems. Roll-formed from cold-rolled galvanized steel, ceiling wall angle is fixed along the wall perimeter to support the ends of main channels and furring channels,
Ceiling Wall Angle – Galvanized L-Shaped Perimeter Trim for Suspended Drywall Ceilings

Galvanized steel profiles are the foundational metal framing components widely used in modern interior construction. Roll-formed from cold-rolled steel coated with protective zinc layer, galvanized steel profiles cover a full range of shapes including C studs, U tracks, omega channels,
Galvanized Steel Profiles – Reliable Cold Rolled Framing for Drywall Walls and Ceilings

Metal furring channel for ceiling is a vital secondary framing component widely used in suspended ceiling and drywall ceiling systems. Roll-formed from cold-rolled galvanized steel, this lightweight metal profile works together with main channels, hangers and wall angles to create a level,
Metal Furring Channel for Ceiling – Galvanized Secondary Framing for Suspended Drywall Ceilings

Metal omega channel, also widely called omega furring channel or hat channel, is an indispensable secondary metal framing profile for modern suspended ceilings and drywall wall furring systems. Named after its distinctive Ω shape, this profile is roll-formed from cold-rolled galvanized steel
Metal Omega Channel – Galvanized Omega Furring Channel for Drywall Ceiling and Wall Framing