
How to Install Metal Corner Beads Without Cracking Your Drywall
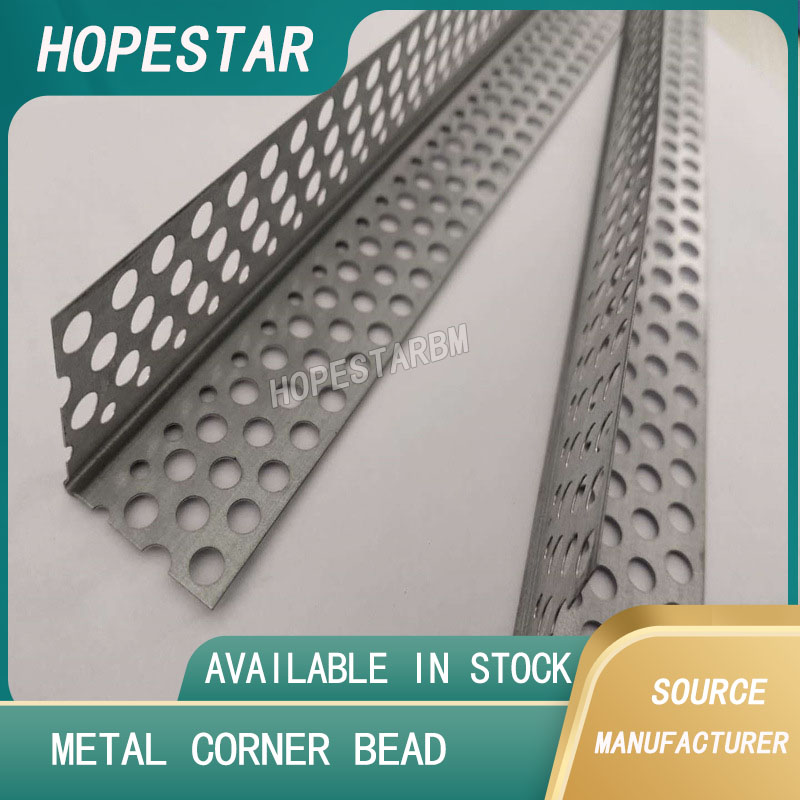
Installing drywall corners can be a tricky task, especially when working with metal corner beads. While these durable accessories provide excellent protection and clean lines, improper installation can lead to cracks, poor adhesion, or even long-term structural issues. If you're a DIY enthusiast, a contractor, or a drywall professional looking to avoid cracking your drywall, this guide is for you. Let’s explore how to install metal corner beads correctly, efficiently, and crack-free.
What Are Metal Corner Beads?
Metal corner beads are L-shaped or bullnose strips made from galvanized steel or aluminum. They are designed to reinforce and protect external corners in drywall systems. By covering vulnerable edges, they help prevent dents, chips, and cracks over time. Compared to plastic alternatives, metal corner beads offer superior strength and durability, making them a popular choice for high-traffic areas.
Common Causes of Drywall Cracks During Installation
Before diving into the installation steps, it's important to understand what causes drywall to crack during corner bead application:
-
Overdriving fasteners into the drywall or metal bead
-
Using improper adhesive or skipping bonding compound
-
Poor alignment or uneven surfaces
-
Insufficient drying time between compound layers
-
Over-sanding or applying too much pressure
Now that you know the risks, let's look at the right way to install your metal corner beads and avoid these problems altogether.
Step-by-Step Guide: Installing Metal Corner Beads Safely
1. Gather the Right Tools and Materials
To install metal corner beads without damaging your drywall, ensure you have the following:
-
Metal corner beads (galvanized steel or aluminum)
-
Tin snips or a bead cutter
-
Joint compound (or drywall mud)
-
6-12 inch taping knife
-
Drill or drywall hammer
-
Drywall screws or nails
-
Sanding block or sponge
-
Measuring tape and level
2. Measure and Cut the Beads
Use a tape measure to determine the height of the drywall corner. Cut the metal bead using tin snips to match this length. Make sure to round off sharp edges to avoid damage to the drywall surface and to protect your hands.
3. Pre-Fit the Corner Bead
Hold the corner bead against the drywall to ensure it fits snugly and evenly along the entire corner. Check with a level to verify straightness. Misalignment at this stage can lead to uneven compound coverage and cracks.
4. Choose Your Mounting Method
You can attach metal corner beads using two main methods:
A. Mechanical Fastening (Screws or Nails)
-
Place drywall screws or nails every 6 to 8 inches along each flange.
-
Do not overtighten! This is one of the most common causes of cracking.
-
Slightly countersink the fasteners, but avoid breaking through the bead.
B. Adhesive Bonding (Joint Compound)
-
Apply an even layer of joint compound along both sides of the drywall corner.
-
Press the corner bead into the compound and use your taping knife to press out excess compound underneath.
-
Let it dry completely before moving to the next layer.
Metal Corner Beads for Curved Walls: Techniques and Product Recommendations
What is Light Gauge Steel Framing?
Related Article



