
How to Fix Metal Corner Bead
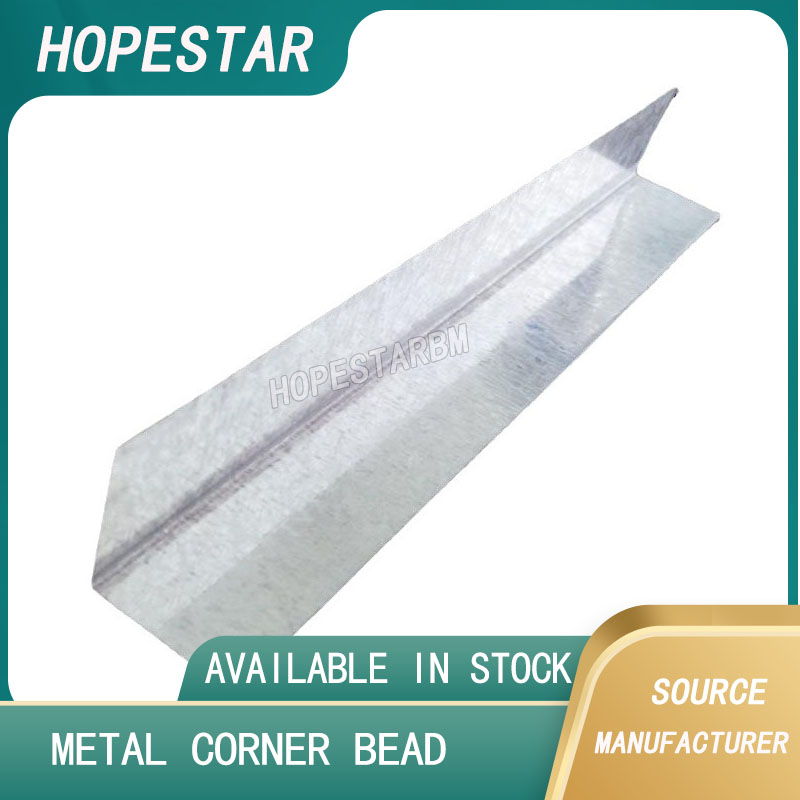
Fixing a metal corner bead correctly is essential for creating strong, straight drywall corners with a professional finish. Whether you are installing new drywall or repairing damaged corners, proper installation prevents cracking, rust exposure, and uneven edges. Below is a complete guide on how to fix metal corner bead the right way.
Tools and Materials Needed
Before you begin, prepare the following tools:
-
Metal corner bead (galvanized steel or aluminum)
-
Drywall screws or nails
-
Tin snips or metal shears
-
Drywall joint compound
-
Taping knife (4", 6", and 10" recommended)
-
Level or straightedge
-
Sandpaper or sanding sponge
Step 1: Measure and Cut the Metal Corner Bead
Measure the height of the corner accurately. Use tin snips to cut the metal corner bead slightly shorter (about 3–5 mm) than the wall height to avoid floor or ceiling interference.
Make sure the cut edges are clean and straight.
Step 2: Position the Corner Bead
Place the metal corner bead over the drywall corner so that it sits evenly on both sides. Use a level to ensure the bead is perfectly straight from top to bottom. Proper alignment is critical for a clean finished corner.
Step 3: Fasten the Metal Corner Bead
Secure the metal corner bead using one of the following methods:
-
Drywall screws: Space screws every 20–30 cm along both sides
-
Drywall nails: Nail through the perforations at even intervals
-
Staples: Commonly used with pneumatic staplers
Start fastening from the center and work upward and downward to prevent shifting.
Step 4: Apply the First Coat of Joint Compound
Using a 4" or 6" taping knife, apply a thin layer of joint compound over both flanges of the corner bead. Press firmly to fill all perforations and ensure strong bonding to the drywall surface.
Allow the compound to dry completely.
Step 5: Apply Additional Coats
Apply a second and third coat of joint compound, each time using a wider knife to feather the edges smoothly into the wall. Let each coat dry fully before applying the next.
This step helps hide the metal edge and creates a smooth transition.
Step 6: Sand and Finish
Once the final coat is dry, lightly sand the area to remove ridges and imperfections. Be careful not to sand through the compound and expose the metal.
After sanding, the corner is ready for primer and paint.
Common Mistakes to Avoid
-
Over-fastening, which can bend the bead
-
Applying compound too thick in one coat
-
Poor alignment before fastening
-
Skipping drying time between coats
Conclusion
Knowing how to fix metal corner bead properly ensures straight, durable, and long-lasting drywall corners. With correct tools, careful alignment, and proper finishing, metal corner beads provide excellent protection and a professional appearance for any drywall project.
What's better, metal or vinyl corner bead?
What Are the Different Types of Corner Beads?
Related Article



