
How to construct light steel keel suspended ceiling
2024-06-19
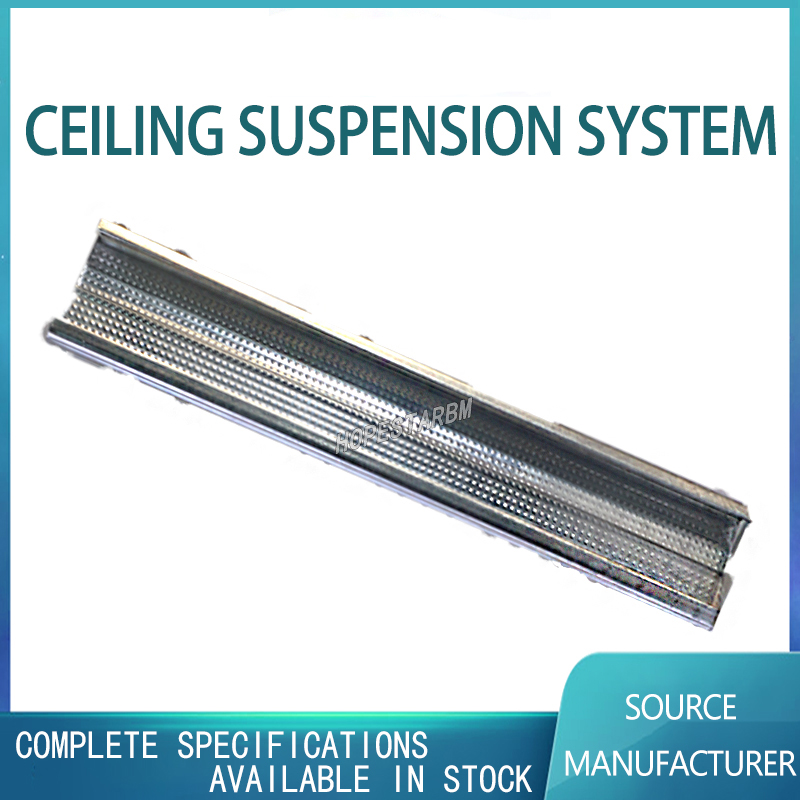
Construction steps for light steel keel suspended ceiling:
1. Installation of suspension rods:
If the floor slab is a prefabricated slab, the steel bars of the ceiling are buried in the slab joints. As long as the upper end of the suspension rod passes through the hook hole and is bent, it is sufficient. If the floor slab is a cast-in-place slab, the position line will be pre buried at the bottom of the floor slab, and the embedded parts will be fixed at the bottom of the floor slab with shooting nails. The upper end of the suspension rod can be bent and twisted firmly through the hanging ring hole on the embedded parts.
2. Install large keel:
Install the vertical suspension components of the large keel as many as possible on the main keel, pass the main keel up, and thread the lower end of the suspension rod into the hole on the vertical suspension component of the large keel. Tighten the nut preliminarily, and calculate the arch value at each suspension point of the large keel based on the arch height of the pointed point in the room ceiling (usually the short span of the room). Turn the nut to adjust the arch value of the main keel. After the adjustment is completed, tighten the vertical suspension components of the large keel.
3. Install the middle keel:
Place the vertical hanging pieces of the middle keel as many as possible on the large keel, pass the middle keel up, and make the middle keel buckle onto the vertical hanging pieces of the middle keel. If the middle keel intersects with the horizontal brace, place the middle keel plane connector on the middle keel, and the horizontal brace buckles the middle keel plane connector.
4. Install small keel:
Place the small keel vertical suspension fittings as many as possible on the large keel, pass the small keel up, and make the small keel buckle onto the small keel vertical suspension fittings. If the small keel intersects with the horizontal brace, place a small keel plane connector on the small keel, and the horizontal brace will buckle the small keel plane connector.
5. Cover panel:
After the installation of the keel is completed and checked to be correct, the cover panel can be installed. According to the material of the cover panel, self tapping screws or adhesive can be used to fix it.
Precautions for construction of light steel keel suspended ceiling:
1. Uneven ceiling: The reason is that the suspension rods were not leveled carefully during the installation of the large keel, resulting in inconsistent elevations at each suspension rod point. During construction, the tightness of each suspension point should be checked, and the elevation and flatness should be checked by connecting the line to ensure compliance with the design and construction specifications.
2. The local node structure of the light steel skeleton is unreasonable: at the reserved holes, lamp openings, ventilation openings, etc., keels and connectors should be set up according to the corresponding node structure in the drawing to ensure that the structure meets the requirements of the drawing and design.
3. The light steel framework is not securely suspended: the light steel framework of the ceiling should be suspended on the main structure, and the suspension rod nuts should be tightened to control the fixed design elevation; The pipelines and equipment components inside the ceiling shall not be suspended and fixed on the light steel framework.
4. Uneven gap seams in the partition of the cover panel: During construction, pay attention to the specifications of the panels, align the wires, and ensure that they are flat and straight during installation and fixation.
5. The sealing strip and edge strip are not tight and straight: during construction, they should be pulled, aligned, fixed, and pressed.
1. Installation of suspension rods:
If the floor slab is a prefabricated slab, the steel bars of the ceiling are buried in the slab joints. As long as the upper end of the suspension rod passes through the hook hole and is bent, it is sufficient. If the floor slab is a cast-in-place slab, the position line will be pre buried at the bottom of the floor slab, and the embedded parts will be fixed at the bottom of the floor slab with shooting nails. The upper end of the suspension rod can be bent and twisted firmly through the hanging ring hole on the embedded parts.
2. Install large keel:
Install the vertical suspension components of the large keel as many as possible on the main keel, pass the main keel up, and thread the lower end of the suspension rod into the hole on the vertical suspension component of the large keel. Tighten the nut preliminarily, and calculate the arch value at each suspension point of the large keel based on the arch height of the pointed point in the room ceiling (usually the short span of the room). Turn the nut to adjust the arch value of the main keel. After the adjustment is completed, tighten the vertical suspension components of the large keel.
3. Install the middle keel:
Place the vertical hanging pieces of the middle keel as many as possible on the large keel, pass the middle keel up, and make the middle keel buckle onto the vertical hanging pieces of the middle keel. If the middle keel intersects with the horizontal brace, place the middle keel plane connector on the middle keel, and the horizontal brace buckles the middle keel plane connector.
4. Install small keel:
Place the small keel vertical suspension fittings as many as possible on the large keel, pass the small keel up, and make the small keel buckle onto the small keel vertical suspension fittings. If the small keel intersects with the horizontal brace, place a small keel plane connector on the small keel, and the horizontal brace will buckle the small keel plane connector.
5. Cover panel:
After the installation of the keel is completed and checked to be correct, the cover panel can be installed. According to the material of the cover panel, self tapping screws or adhesive can be used to fix it.
Precautions for construction of light steel keel suspended ceiling:
1. Uneven ceiling: The reason is that the suspension rods were not leveled carefully during the installation of the large keel, resulting in inconsistent elevations at each suspension rod point. During construction, the tightness of each suspension point should be checked, and the elevation and flatness should be checked by connecting the line to ensure compliance with the design and construction specifications.
2. The local node structure of the light steel skeleton is unreasonable: at the reserved holes, lamp openings, ventilation openings, etc., keels and connectors should be set up according to the corresponding node structure in the drawing to ensure that the structure meets the requirements of the drawing and design.
3. The light steel framework is not securely suspended: the light steel framework of the ceiling should be suspended on the main structure, and the suspension rod nuts should be tightened to control the fixed design elevation; The pipelines and equipment components inside the ceiling shall not be suspended and fixed on the light steel framework.
4. Uneven gap seams in the partition of the cover panel: During construction, pay attention to the specifications of the panels, align the wires, and ensure that they are flat and straight during installation and fixation.
5. The sealing strip and edge strip are not tight and straight: during construction, they should be pulled, aligned, fixed, and pressed.
Six major steps in the construction process of light steel keel suspended ceiling
Acceptance specifications and standards for light steel keel suspended ceilings
Related Article

Ceiling wall angle, also known as perimeter angle or L-angle, is an indispensable L-shaped metal profile for suspended drywall ceiling systems. Roll-formed from cold-rolled galvanized steel, ceiling wall angle is fixed along the wall perimeter to support the ends of main channels and furring channels,
Ceiling Wall Angle – Galvanized L-Shaped Perimeter Trim for Suspended Drywall Ceilings

Galvanized steel profiles are the foundational metal framing components widely used in modern interior construction. Roll-formed from cold-rolled steel coated with protective zinc layer, galvanized steel profiles cover a full range of shapes including C studs, U tracks, omega channels,
Galvanized Steel Profiles – Reliable Cold Rolled Framing for Drywall Walls and Ceilings

Metal furring channel for ceiling is a vital secondary framing component widely used in suspended ceiling and drywall ceiling systems. Roll-formed from cold-rolled galvanized steel, this lightweight metal profile works together with main channels, hangers and wall angles to create a level,
Metal Furring Channel for Ceiling – Galvanized Secondary Framing for Suspended Drywall Ceilings

Metal omega channel, also widely called omega furring channel or hat channel, is an indispensable secondary metal framing profile for modern suspended ceilings and drywall wall furring systems. Named after its distinctive Ω shape, this profile is roll-formed from cold-rolled galvanized steel
Metal Omega Channel – Galvanized Omega Furring Channel for Drywall Ceiling and Wall Framing