
Drywall furring hat channel installation
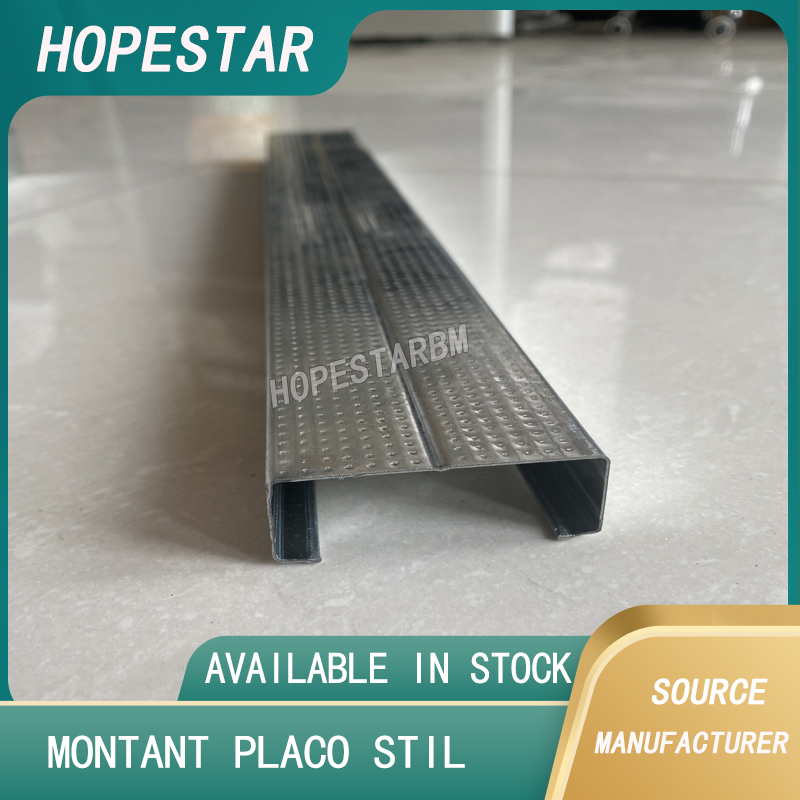
Installing drywall furring hat channels is an important step in constructing drywall systems, especially in soundproofing or creating resilient structures. These channels provide a sturdy base for attaching drywall while offering benefits such as sound dampening and enhanced structural integrity. Here's a step-by-step guide on how to install drywall furring hat channels:
Materials Needed:
-
Drywall furring hat channels
-
Drill and screwdriver
-
Screws (preferably drywall or framing screws)
-
Measuring tape
-
Level
-
Chalk line or pencil
-
Safety gear (gloves, eye protection)
Step-by-Step Installation:
1. Preparation
Before starting the installation, ensure that you have all the necessary materials and tools. Double-check the size of the furring hat channels to ensure they’re suitable for your project. Measure the space where you will install the channels to determine how many you’ll need.
2. Marking and Measuring
-
Start by measuring and marking the position where the first channel will be installed.
-
For wall installations, the channels are typically spaced about 16 inches (406 mm) apart, but this spacing can vary based on your project’s specifications or the type of drywall used.
-
Use a level to mark straight, horizontal lines on the wall or ceiling where the channels will be placed.
-
Use a chalk line for accurate, straight lines across the installation area, ensuring the channels will be installed evenly.
3. Cutting the Channels (if necessary)
-
If the furring hat channels are too long for your space, measure and cut the channels to the required length using metal snips or a hacksaw.
-
Make sure the cuts are clean and smooth to avoid sharp edges that could cause injury during installation.
4. Positioning the Channels
-
Begin positioning the channels on the marked lines. For ceiling applications, start from the farthest end and work towards the wall or opposite side. For wall installations, start from the bottom or top depending on the orientation.
-
The "hat" shape of the channel should be facing up (with the opening facing the ceiling or floor). This is essential for proper installation.
5. Attaching the Channels
-
Use screws to secure the channels to the underlying studs or ceiling joists.
-
Screw the channel into place by driving screws through the perforated holes in the channel into the studs or joists. Make sure the screws are evenly spaced, typically about 16 inches apart.
-
If you are using resilient hat channels for soundproofing, take care to avoid over-tightening, as it may reduce the effectiveness of the vibration-dampening properties.
6. Installing Additional Channels
-
Continue installing the remaining channels along the marked lines, ensuring that they are spaced correctly. Use the level to make sure each channel is straight and aligned.
-
For large spaces, double-check alignment as you move along to ensure a consistent gap between the channels for optimal drywall attachment.
7. Checking the Installation
-
After all the channels are installed, check that they are securely attached and aligned properly.
-
Ensure there is no excessive gap between the drywall and the framing structure. The channels should be stable, providing a solid framework for drywall installation.
8. Drywall Attachment
-
Once the furring hat channels are securely in place, you can proceed with the drywall installation. The drywall sheets will be mounted directly to the channels using drywall screws or nails.
-
Follow the same spacing for screws as you did for the channels to ensure a tight, secure attachment.
Tips for Successful Installation:
-
Use a helper: Installing furring hat channels can be easier with two people, especially for ceiling installations or longer sections.
-
Wear safety gear: Always wear gloves and eye protection when working with metal materials to avoid injury.
-
Proper spacing: Ensure that the spacing between the channels follows the building code or project requirements to avoid issues later on.
-
Soundproofing applications: If you're using resilient metal hat channels for sound isolation, be sure to follow the manufacturer’s instructions closely for optimal acoustic performance.
Metal stud sizes
Drywall furring hat channel sizes
Related Article



