
Complete guide for installation of Australian light steel keel ceiling
2024-04-19
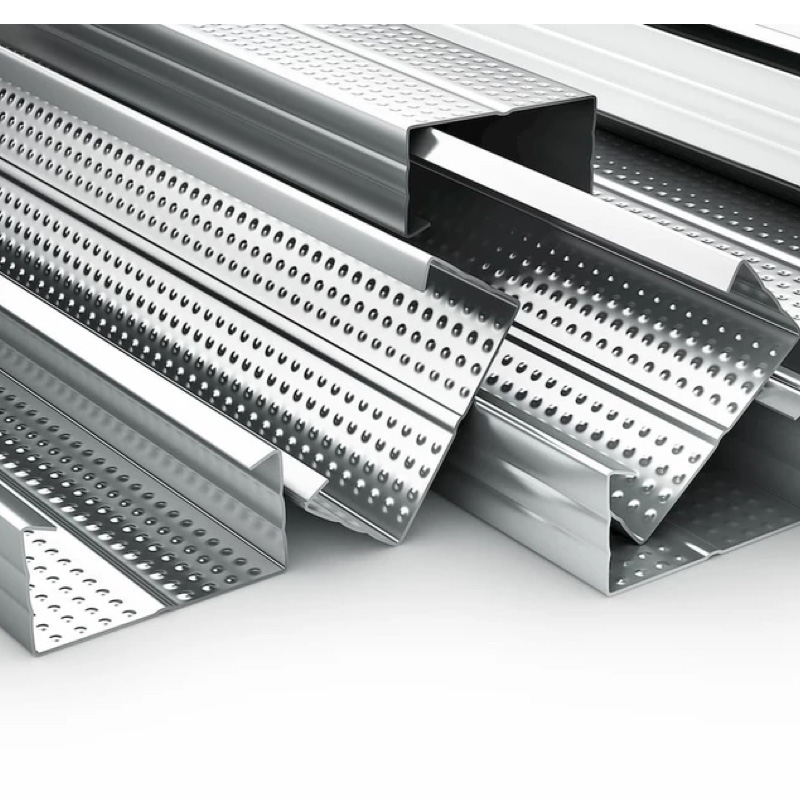
Complete guide for installing light steel keel suspended ceiling
1、 Preliminary preparation
Before starting the installation of the light steel keel ceiling, we need to make sufficient preparations. Firstly, measure the length, width, and height of the room to determine the size and shape of the ceiling. Secondly, select appropriate light steel keel and ceiling panels based on the measurement results to ensure that the quality and specifications of the materials meet the requirements. Finally, prepare the necessary tools and auxiliary materials for installation, such as an electric drill, screwdriver, hammer, level, self tapping screws, etc.
2、 Installation of suspended ceiling keel
1. Determine the position and spacing of the ceiling keel. Based on the size of the room and the design requirements of the ceiling, determine the spacing and position of the keel to ensure that the keel is arranged neatly and evenly spaced.
2. Install the ceiling keel. Mark the position line of the keel on the wall, use an electric drill to drill holes on the wall, and insert expansion bolts into the holes. Then, clip the keel into the expansion bolt and tighten the bolt with a screwdriver to ensure that the keel is securely fixed.
3. Connect the keel. Connect the keel with connectors to ensure a secure and stable connection. During the connection process, it is important to maintain the horizontal and vertical orientation of the keel to avoid tilting or twisting.
3、 Installation of ceiling panels
1. Select suitable ceiling panels. According to the design requirements of the ceiling, select suitable ceiling panels to ensure that the quality, specifications, and color of the panels meet the requirements.
2. Install ceiling panels. Place the ceiling panel on the keel and fix it to the keel with self tapping screws. During the fixation process, the flatness and stability of the board should be maintained to avoid warping or indentation.
3. Handle the joints of the board. Leave appropriate gaps between the boards and fill them with specialized putty to make the surface of the ceiling flat and beautiful.
4、 Installation of ceiling accessories
1. Install ceiling lighting fixtures. According to design requirements, install lighting fixtures in suitable positions on the ceiling to ensure the stability and safety of the fixtures.
2. Install the ceiling maintenance port. Install inspection openings at appropriate locations on the ceiling for easy maintenance and repair in the future. The size and location of the maintenance port should be determined based on the actual situation to ensure its aesthetics and practicality.
5、 Acceptance and maintenance
After completing the installation of the light steel keel ceiling, we need to carry out acceptance work. Firstly, check the flatness and stability of the ceiling to ensure that there is no warping, depression, or shaking. Secondly, check whether the joint treatment of the ceiling is beautiful and firm. Finally, check if the installation of ceiling lighting fixtures and access ports meets the requirements.
In daily use, we also need to pay attention to the maintenance of the ceiling. Avoid heavy objects colliding with the ceiling to prevent damage to the ceiling panels or keel. Regularly clean the surface of the ceiling to maintain its beauty and hygiene. If damage or deformation is found on the ceiling, professional maintenance personnel should be contacted in a timely manner for repair and replacement.
Through the above comprehensive guide for installing light steel keel ceilings, I believe you have gained a more detailed understanding of the installation process of light steel keel ceilings. During the actual installation process, please be sure to follow the installation steps and requirements to ensure the quality and safety of the ceiling. At the same time, attention should also be paid to the daily maintenance and upkeep of the suspended ceiling, in order to extend its service life and aesthetics.
1、 Preliminary preparation
Before starting the installation of the light steel keel ceiling, we need to make sufficient preparations. Firstly, measure the length, width, and height of the room to determine the size and shape of the ceiling. Secondly, select appropriate light steel keel and ceiling panels based on the measurement results to ensure that the quality and specifications of the materials meet the requirements. Finally, prepare the necessary tools and auxiliary materials for installation, such as an electric drill, screwdriver, hammer, level, self tapping screws, etc.
2、 Installation of suspended ceiling keel
1. Determine the position and spacing of the ceiling keel. Based on the size of the room and the design requirements of the ceiling, determine the spacing and position of the keel to ensure that the keel is arranged neatly and evenly spaced.
2. Install the ceiling keel. Mark the position line of the keel on the wall, use an electric drill to drill holes on the wall, and insert expansion bolts into the holes. Then, clip the keel into the expansion bolt and tighten the bolt with a screwdriver to ensure that the keel is securely fixed.
3. Connect the keel. Connect the keel with connectors to ensure a secure and stable connection. During the connection process, it is important to maintain the horizontal and vertical orientation of the keel to avoid tilting or twisting.
3、 Installation of ceiling panels
1. Select suitable ceiling panels. According to the design requirements of the ceiling, select suitable ceiling panels to ensure that the quality, specifications, and color of the panels meet the requirements.
2. Install ceiling panels. Place the ceiling panel on the keel and fix it to the keel with self tapping screws. During the fixation process, the flatness and stability of the board should be maintained to avoid warping or indentation.
3. Handle the joints of the board. Leave appropriate gaps between the boards and fill them with specialized putty to make the surface of the ceiling flat and beautiful.
4、 Installation of ceiling accessories
1. Install ceiling lighting fixtures. According to design requirements, install lighting fixtures in suitable positions on the ceiling to ensure the stability and safety of the fixtures.
2. Install the ceiling maintenance port. Install inspection openings at appropriate locations on the ceiling for easy maintenance and repair in the future. The size and location of the maintenance port should be determined based on the actual situation to ensure its aesthetics and practicality.
5、 Acceptance and maintenance
After completing the installation of the light steel keel ceiling, we need to carry out acceptance work. Firstly, check the flatness and stability of the ceiling to ensure that there is no warping, depression, or shaking. Secondly, check whether the joint treatment of the ceiling is beautiful and firm. Finally, check if the installation of ceiling lighting fixtures and access ports meets the requirements.
In daily use, we also need to pay attention to the maintenance of the ceiling. Avoid heavy objects colliding with the ceiling to prevent damage to the ceiling panels or keel. Regularly clean the surface of the ceiling to maintain its beauty and hygiene. If damage or deformation is found on the ceiling, professional maintenance personnel should be contacted in a timely manner for repair and replacement.
Through the above comprehensive guide for installing light steel keel ceilings, I believe you have gained a more detailed understanding of the installation process of light steel keel ceilings. During the actual installation process, please be sure to follow the installation steps and requirements to ensure the quality and safety of the ceiling. At the same time, attention should also be paid to the daily maintenance and upkeep of the suspended ceiling, in order to extend its service life and aesthetics.
Are light steel keel ceilings afraid of rain?
How much does the light steel keel partition wall cost per square meter
Related Article

Ceiling wall angle, also known as perimeter angle or L-angle, is an indispensable L-shaped metal profile for suspended drywall ceiling systems. Roll-formed from cold-rolled galvanized steel, ceiling wall angle is fixed along the wall perimeter to support the ends of main channels and furring channels,
Ceiling Wall Angle – Galvanized L-Shaped Perimeter Trim for Suspended Drywall Ceilings

Galvanized steel profiles are the foundational metal framing components widely used in modern interior construction. Roll-formed from cold-rolled steel coated with protective zinc layer, galvanized steel profiles cover a full range of shapes including C studs, U tracks, omega channels,
Galvanized Steel Profiles – Reliable Cold Rolled Framing for Drywall Walls and Ceilings

Metal furring channel for ceiling is a vital secondary framing component widely used in suspended ceiling and drywall ceiling systems. Roll-formed from cold-rolled galvanized steel, this lightweight metal profile works together with main channels, hangers and wall angles to create a level,
Metal Furring Channel for Ceiling – Galvanized Secondary Framing for Suspended Drywall Ceilings

Metal omega channel, also widely called omega furring channel or hat channel, is an indispensable secondary metal framing profile for modern suspended ceilings and drywall wall furring systems. Named after its distinctive Ω shape, this profile is roll-formed from cold-rolled galvanized steel
Metal Omega Channel – Galvanized Omega Furring Channel for Drywall Ceiling and Wall Framing