
Benefits of Using Furring Channels in Construction
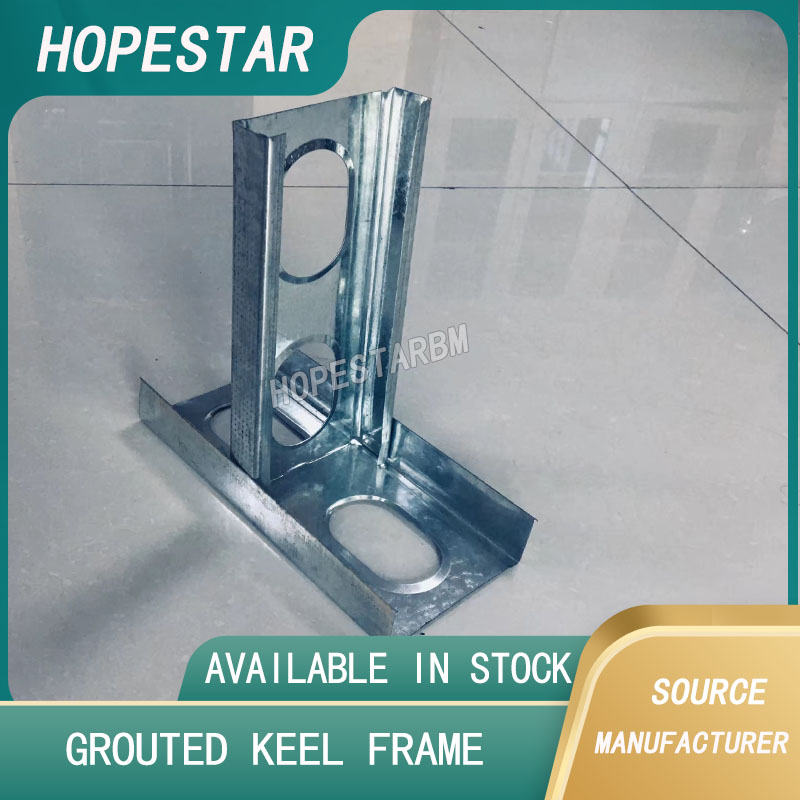
1. Leveling Uneven Surfaces
One of the primary reasons to use furring channels is to create a level surface over uneven or rough structural walls and ceilings. This is especially important when installing drywall to avoid cracks and ensure a smooth finish.
2. Improved Insulation and Soundproofing
Furring channels can create a cavity between the wall or ceiling and the drywall, allowing space to add insulation materials. This improves thermal efficiency and reduces sound transmission, making interiors quieter and more energy-efficient.
3. Moisture Control and Airflow
In exterior wall applications, furring channels provide a gap between siding or cladding and the structural wall, which allows for ventilation and moisture drainage. This helps prevent mold growth and material deterioration over time.
4. Fire Resistance
Using fire-rated furring channels made of galvanized steel can enhance the fire resistance of walls and ceilings. This is a critical factor in commercial buildings, hospitals, and multi-story residential properties.
How to Install Metal Furring Channels: Step-by-Step Guide
-
Preparation:
Inspect the structural walls or ceiling joists for damage and ensure they are clean and dry. -
Marking and Measuring:
Measure and mark where the furring channels will be attached. Typically, they are spaced 16 or 24 inches on center. -
Cutting:
Cut the metal furring channels to the required length using tin snips or a metal cutting saw. -
Attachment:
Fasten the channels perpendicular to the studs or joists using screws or nails suitable for metal framing. -
Leveling:
Use a level to ensure the channels create a flat plane, making adjustments if necessary with shims. -
Drywall Installation:
Once the furring channels are securely in place, attach drywall sheets using drywall screws driven into the channels.
What Is Another Name for a Furring Channel? A Complete Guide
What is a Furring Channel?
Related Article



