
How to Use Furring Channel?
2026-08-17
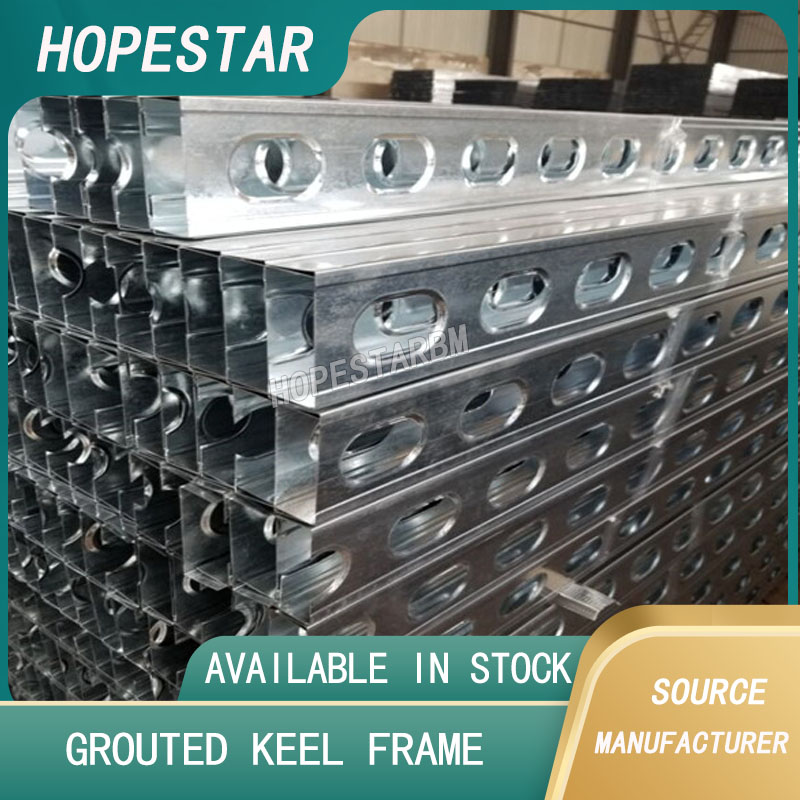
Furring channels are essential galvanized steel framing materials widely used for leveling walls and ceilings, installing insulation, and supporting drywall finishes in construction projects. Available in Z-shaped and U-shaped designs, these lightweight, rigid metal channels create a uniform gap between structural substrates such as concrete, brick, and masonry walls and decorative finish layers. Proper usage of furring channels is critical to ensuring flat, durable, energy-efficient, and professional-grade wall and ceiling systems. Standard installation procedures follow systematic preparation, layout, fastening, adjustment, and finishing steps.
The first step in using furring channels is site preparation and surface inspection. Before installation, workers must clean the wall or ceiling substrate thoroughly to remove dust, debris, residual mortar, and protruding obstacles. It is necessary to check the flatness, verticality, and structural stability of the base surface. Severe cracks, hollow areas, or uneven bulges on the substrate need to be repaired and leveled in advance. A clean, stable base ensures firm adhesion and uniform installation of furring channels, avoiding later deformation and finish cracking.
The second step is precise layout and marking. Professional line marking is the foundation of a neat and flat furring channel framework. According to construction design standards, mark horizontal and vertical reference lines on the substrate surface. For conventional wall finishing, vertical furring channels are typically spaced 16 inches or 24 inches apart, matching the standard width of drywall panels. For ceiling installation, horizontal channels are arranged at equal intervals to ensure even force distribution. Clear marking effectively controls installation spacing and flatness, preventing irregular framing and uneven drywall joints.
The third and core step is fixing and installing furring channels. Drill expansion holes along the marked lines on the concrete or masonry substrate, then embed expansion bolts firmly. Align the pre-cut furring channels with the positioning lines and fasten them tightly to the base with screws or bolts. For Z-furring channels, the wider flange must be fixed toward the structural wall, while the offset outer flange faces outward to reserve a flat mounting plane for drywall. During fastening, adjust the tightness appropriately to fine-tune the flatness of the entire frame, ensuring no warping or uneven height between adjacent channels.
The fourth step is auxiliary construction and gap treatment. After the main furring channel frame is installed, fill the reserved gaps between the substrate and channels with thermal insulation cotton, foam board, or soundproof materials as required. This step effectively eliminates thermal bridging, improves building energy efficiency, and enhances indoor sound insulation performance. For wall corners and joints between multiple channels, install auxiliary corner accessories to reinforce the frame structure, improving overall stability and impact resistance.
The final step is inspection and drywall installation. After the furring frame is fully installed, conduct a comprehensive inspection: check firmness of all fixed points, overall flatness of the frame, uniform spacing, and complete insulation filling. Tap the channels slightly to confirm no loosening or hollowing. Once the inspection passes, drywall panels can be fastened to the outer flanges of the furring channels to complete the wall and ceiling finishing construction.
In short, standardized use of furring channels includes surface preparation, precise marking, scientific fixing, auxiliary insulation construction, and final inspection. Strictly following these steps can maximize the structural stability, insulation effect, and decorative flatness of furring channel systems, delivering long-lasting and high-quality construction finishing results.
Are Corner Beads Always Metal?
What is a Z Furring Channel?
Related Article

Ceiling wall angle, also known as perimeter angle or L-angle, is an indispensable L-shaped metal profile for suspended drywall ceiling systems. Roll-formed from cold-rolled galvanized steel, ceiling wall angle is fixed along the wall perimeter to support the ends of main channels and furring channels,
Ceiling Wall Angle – Galvanized L-Shaped Perimeter Trim for Suspended Drywall Ceilings

Galvanized steel profiles are the foundational metal framing components widely used in modern interior construction. Roll-formed from cold-rolled steel coated with protective zinc layer, galvanized steel profiles cover a full range of shapes including C studs, U tracks, omega channels,
Galvanized Steel Profiles – Reliable Cold Rolled Framing for Drywall Walls and Ceilings

Metal furring channel for ceiling is a vital secondary framing component widely used in suspended ceiling and drywall ceiling systems. Roll-formed from cold-rolled galvanized steel, this lightweight metal profile works together with main channels, hangers and wall angles to create a level,
Metal Furring Channel for Ceiling – Galvanized Secondary Framing for Suspended Drywall Ceilings

Metal omega channel, also widely called omega furring channel or hat channel, is an indispensable secondary metal framing profile for modern suspended ceilings and drywall wall furring systems. Named after its distinctive Ω shape, this profile is roll-formed from cold-rolled galvanized steel
Metal Omega Channel – Galvanized Omega Furring Channel for Drywall Ceiling and Wall Framing