
How to Install Steel Studs: A Step-by-Step Framing Guide
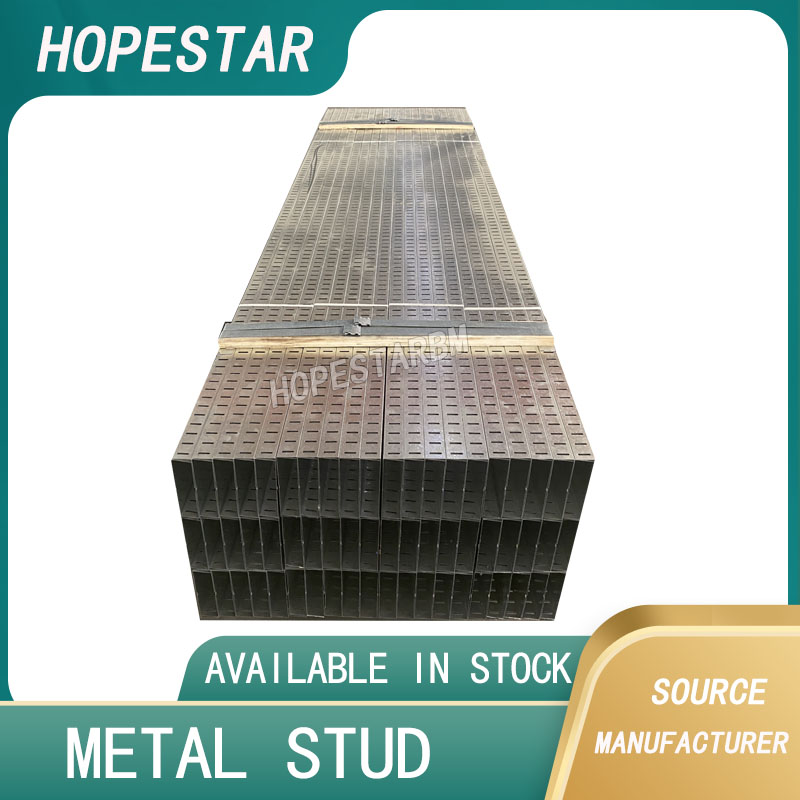
Steel stud framing is widely used for interior partition walls because it is lightweight, straight, and easy to assemble. However, correct installation is essential for achieving a stable wall, smooth drywall finish, and reliable long-term performance.
This guide explains how to install steel studs for a typical non-load-bearing interior partition. Always follow the project drawings, local building regulations, and the steel framing manufacturer’s instructions before beginning work.
Prepare the Materials and Tools
Before installation, confirm that the steel studs and tracks have the correct width, thickness, length, and zinc coating for the project.
Common tools and materials include:
- Steel studs and matching tracks
- Measuring tape
- Chalk line or laser level
- Spirit level
- Metal cutting snips
- Screw gun
- Self-drilling screws
- Suitable floor and ceiling anchors
- Safety gloves and eye protection
Do not use damaged, heavily bent, or incorrectly sized profiles.
Mark the Wall Position
Use the construction drawing to identify the exact position of the partition wall. Mark the wall line on the floor with a chalk line or laser.
Transfer the same line to the ceiling and adjoining walls. The upper and lower tracks must be vertically aligned. If the ceiling track is offset from the floor track, the finished wall may lean or become difficult to board.
Check door openings, corners, intersections, and service locations before fixing any profiles.
Fix the Floor and Ceiling Tracks
Cut the metal tracks to the required length. Position the bottom track along the marked floor line and secure it with anchors suitable for concrete, steel, or timber substrates.
Install the top track directly above the bottom track. Fixing spacing should follow the system specification and local requirements.
Where acoustic or sealing performance is required, an approved isolation tape or sealant may be installed beneath the tracks before fixing.
Avoid over-tightening the anchors, as this can distort the track.
Measure and Cut the Steel Studs
Measure the clear distance between the floor and ceiling tracks. Cut each steel stud slightly shorter than the measured height so it can be inserted without forcing or damaging the profile.
Use metal snips or an approved cutting tool. Wear gloves because freshly cut steel edges can be sharp.
Insert each stud into the tracks with the open sides facing the same direction, unless the wall design specifies otherwise.
Set the Correct Stud Spacing
Position the first stud at the end of the wall and check it with a level. Continue installing the remaining studs at the spacing shown in the project design.
Common stud spacing may be based on the width and thickness of the gypsum board, wall height, load requirements, and local standards. Do not assume one spacing is suitable for every project.
Keep the studs straight and ensure their flanges align so the boards can be fixed evenly.
Some systems require the studs to be screwed to the tracks, while others allow a friction fit. Follow the approved framing system details.
Frame Doors, Corners, and Openings
Door openings usually require additional studs, a header, and reinforcement according to the door weight and wall design.
Corners and wall intersections may also need extra studs to provide proper support for drywall edges.
Do not cut or modify structural components without approval. For heavy doors, cabinets, handrails, or wall-mounted equipment, suitable backing or reinforced framing should be installed before the wall is closed.
Install Services Carefully
Electrical cables and small pipes can pass through factory-punched service holes in the studs. Use protective grommets where required to prevent sharp steel edges from damaging cables.
Keep all services away from screw locations. Large holes or uncontrolled cutting can weaken the framing and should be avoided.
Coordinate plumbing, electrical, insulation, and fire-stopping work before installing the second side of the drywall.
Inspect the Frame Before Boarding
Before fixing gypsum boards, check that:
- The wall is straight and vertical
- Stud spacing is correct
- Tracks are securely anchored
- Door openings are square
- Reinforcement is installed where needed
- Services are protected
- No sharp edges or loose screws remain
Correcting framing problems before boarding is easier and less expensive than repairing the finished wall.
Conclusion
Learning how to install steel studs correctly involves more than placing profiles between two tracks. Accurate layout, compatible components, correct spacing, proper reinforcement, and a final inspection are all important.
A well-installed steel stud frame provides a straight and dependable base for drywall partition systems in offices, hotels, apartments, schools, hospitals, and commercial buildings.
FAQ
Can steel studs be cut on site?
Yes. Steel studs can be cut with metal snips or an approved cutting tool. Sharp edges should be handled carefully.
Should steel studs be screwed to the tracks?
It depends on the framing system and project requirements. Some systems use screws, while others use a friction-fit installation.
How far apart should steel studs be installed?
Stud spacing depends on wall height, board dimensions, load requirements, and local standards. Always follow the approved project specification.
Galvanized Steel Stud: Benefits, Applications and Buying Guide
Steel Stud vs Wood Stud: Which Is Better for Your Project?
Related Article



