
How to Install Metal Furring Channel Ceiling
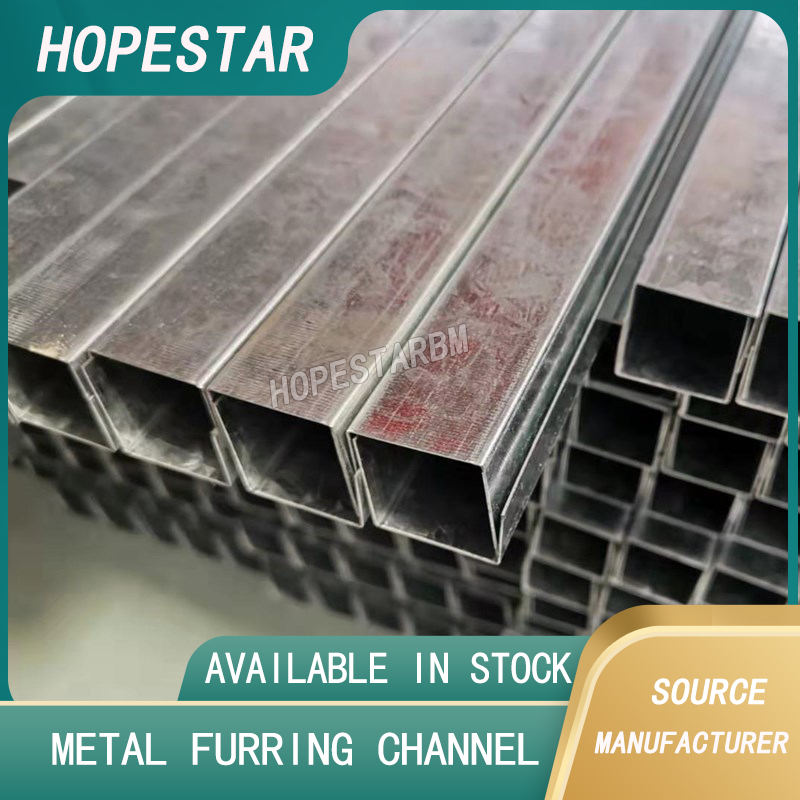
Installing a metal furring channel ceiling is a common method for creating smooth, level surfaces for drywall, plaster, or suspended ceiling systems. Metal furring channels, also called hat channels or resilient channels, provide stability, support, and improved sound insulation. Understanding the proper installation process ensures durability, a professional finish, and compliance with building standards.
Tools and Materials Needed
Before starting, gather the necessary tools and materials:
-
Metal furring channels (hat channels)
-
Furring channel clips or resilient clips
-
Screws and fasteners
-
Drill or screwdriver
-
Measuring tape and level
-
Chalk line
-
Safety gear (gloves, goggles)
Step 1: Prepare the Ceiling
-
Remove any existing ceiling materials if necessary.
-
Inspect the structural surface for stability and repair any damage.
-
Measure the ceiling area and mark the layout using a chalk line to ensure straight alignment.
Step 2: Install Furring Channel Clips
Furring channel clips secure the channels to the ceiling joists or structural frame:
-
Position clips at the recommended spacing, usually 16–24 inches apart depending on the system and local building codes.
-
Attach each clip using screws or fasteners, ensuring they are flush with the ceiling surface.
-
Use a level to check that all clips are aligned at the same height.
Step 3: Attach Metal Furring Channels
-
Snap or screw the metal furring channels into the clips, making sure they are straight and evenly spaced.
-
Adjust channels as needed to ensure a perfectly level surface.
-
Cut any excess channel using a metal saw or snips for a clean fit at edges and corners.
Step 4: Check Alignment and Stability
-
Use a level to verify that all channels are straight.
-
Ensure clips and channels are securely fastened to prevent sagging or movement over time.
-
Make adjustments if any channels are uneven.
Step 5: Install Drywall or Ceiling Panels
Once the furring channels are installed:
-
Attach drywall or ceiling panels perpendicular to the channels.
-
Use screws suitable for metal framing to secure panels to the channels.
-
Finish joints with tape and joint compound for a smooth surface.
Tips for a Successful Installation
-
Wear protective gear while cutting and handling metal channels.
-
Maintain consistent spacing to prevent uneven surfaces.
-
Use resilient clips if soundproofing is a priority.
-
Plan layout before installation to minimize waste.
In conclusion, installing a metal furring channel ceiling involves careful preparation, precise installation of clips and channels, and proper finishing with drywall or panels. Following the correct steps ensures a straight, durable, and professional-quality ceiling suitable for residential, commercial, or industrial projects.
Metal Corner Bead: Essential for Durable and Clean Wall Corners
Are Metal Furring and Carrying Channel the Same?
Related Article



