
How to attach a metal corner bead?
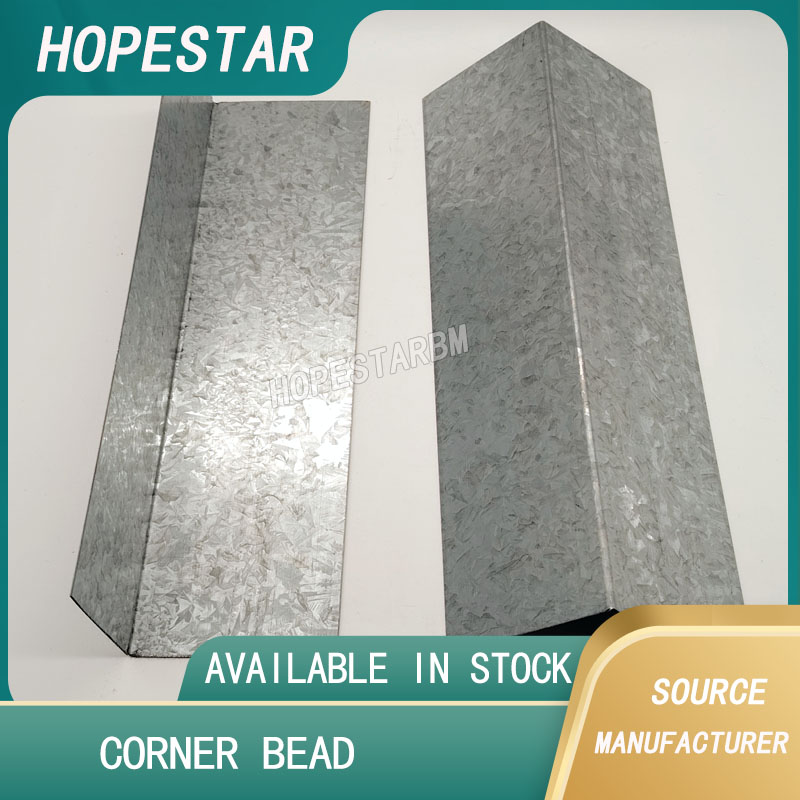
Attaching a metal corner bead (used to reinforce and straighten drywall corners) involves a few simple steps. Here’s a guide for standard nail-on or screw-on metal corner beads:
Tools & Materials Needed:
-
Metal corner bead (galvanized)
-
Tin snips (for cutting)
-
Drywall nails or screws (or staple gun)
-
Hammer or screw gun
-
Joint compound (mud)
-
Taping knife or putty knife
-
Sandpaper or sanding sponge
Steps to Attach Metal Corner Bead:
1. Measure & Cut the Bead
-
Measure the length of the drywall corner.
-
Cut the metal bead to length using tin snips.
-
Lightly round off the top edge to remove sharp points.
2. Position the Bead
-
Place the bead tightly over the corner, ensuring it’s straight and aligned.
-
Check that both sides of the bead are flush with the drywall surface.
3. Fasten the Bead
-
Nail/Screw method: Use drywall nails or screws every 6–8 inches along both flanges.
-
Staple method: If using a staple gun, staple along the same pattern.
Tip: Don't overdrive fasteners—just tight enough to hold the bead snugly without denting it.
4. Apply Joint Compound
-
Apply a layer of joint compound over both flanges, feathering it outward 6–10 inches.
-
Let it dry completely (usually overnight).
5. Add Additional Coats
-
Sand lightly, then apply a second (and optionally third) coat of compound, feathering further each time.
-
Sand smooth when dry.
6. Prime and Paint
-
Once smooth and dust-free, you can prime and paint the corner.
Omega Furring Channel Advantages and Applications
What is the metal furring channel used for?
Related Article



