
Z-Furring Channel installation
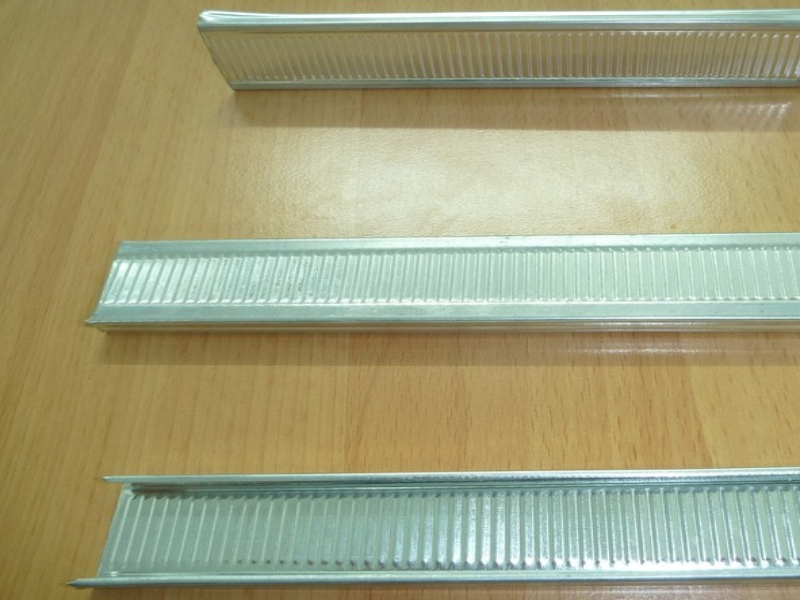
Installing a Z-Furring Channel is a common method to attach wall panels, insulation, or drywall over masonry or concrete surfaces, especially in commercial and industrial construction. Here’s a step-by-step guide to Z-Furring Channel installation:
Tools & Materials Needed
-
Z-furring channels (typically 25 or 20 gauge galvanized steel)
-
Fasteners (concrete screws or masonry anchors)
-
Drill with masonry bit
-
Level and chalk line
-
Measuring tape
-
Insulation (optional)
-
Drywall or sheathing panels
Installation Steps
1. Prep the Wall
-
Ensure the concrete or masonry wall is clean, dry, and free from debris or loose material.
-
Mark layout lines using a chalk line to show where each Z-channel will go — typically spaced 16" or 24" on center depending on your wall finish.
2. Cut the Channels
-
Cut Z-furring channels to the required height using metal snips or a power saw.
-
Leave a small gap (~¼") at the floor and ceiling for expansion.
3. Attach the Channels
-
Hold the channel vertically against the wall, with the flat part facing out (this is where the drywall or sheathing will attach).
-
Drill through the flange of the Z-channel into the masonry using a masonry bit.
-
Insert masonry anchors or concrete screws every 16"–24" vertically.
4. Install Insulation (Optional)
-
If adding insulation, fit rigid foam boards or mineral wool between the channels.
-
Z-channels are ideal for this because their shape allows insulation to sit flush behind the mounting surface.
5. Install Wall Covering
-
Once all Z-channels are secured, screw drywall, sheathing, or metal panels to the face of the Z-channel.
-
Use drywall screws or other panel fasteners appropriate for the material.
Tips
-
Use a laser level to keep everything straight and plumb.
-
If the wall is uneven, consider using shims or washers behind the Z-channel.
-
For exterior walls, consider using corrosion-resistant furring.
Are furring channels vertical or horizontal?
What is the Z channel in construction?
Related Article



