
How do you use furring channels?
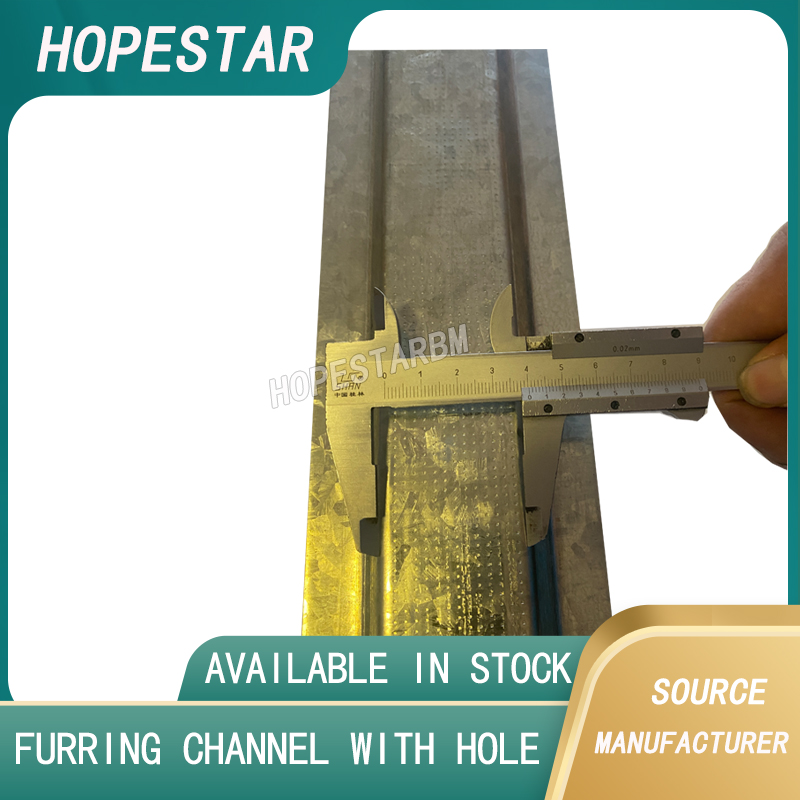
Furring channels are used in construction to create a level, stable surface for installing drywall, paneling, or other finishes on walls and ceilings. They help with soundproofing, insulation, and moisture control. Here's how to use them:
1. Choosing the Right Furring Channel
-
Metal furring channels (commonly made of galvanized steel) are used for ceiling and wall applications.
-
Wood furring strips are sometimes used for basic wall applications but are less durable.
2. Installing Furring Channels on Walls
-
Step 1: Mark Stud Locations – Use a level and chalk line to mark where the furring channels will be installed (typically 16" or 24" apart).
-
Step 2: Attach Furring Strips – Secure the channels to the wall using screws or masonry anchors if installing on concrete.
-
Step 3: Insulate (Optional) – If adding insulation, place it between the furring strips before covering with drywall or panels.
-
Step 4: Attach Drywall or Paneling – Screw the drywall or other finishing material onto the furring strips.
3. Installing Furring Channels on Ceilings
-
Step 1: Locate Ceiling Joists – Use a stud finder to find joists and mark them.
-
Step 2: Install Furring Channels Perpendicular to Joists – Typically spaced 16" apart, attach them using screws, clips, or wire hangers.
-
Step 3: Level the Channels – Ensure the channels are level for a smooth ceiling finish.
-
Step 4: Install Drywall or Ceiling Panels – Secure drywall to the furring channels with screws.
4. Special Applications
-
For Metal Studs: Furring channels are commonly used in steel-framed buildings to create a smooth surface for finishes.
-
For Basement Walls: Furring strips can be installed over concrete walls to provide a nailing surface for drywall.
-
For Soundproofing: Resilient furring channels can be used with soundproof insulation to reduce noise transmission.
Frequently Asked Questions about Furring Channels
Galvanized Steel Furring Channel Profile Shadow Line Stopping Angel
Related Article



