
How to use corner bead?
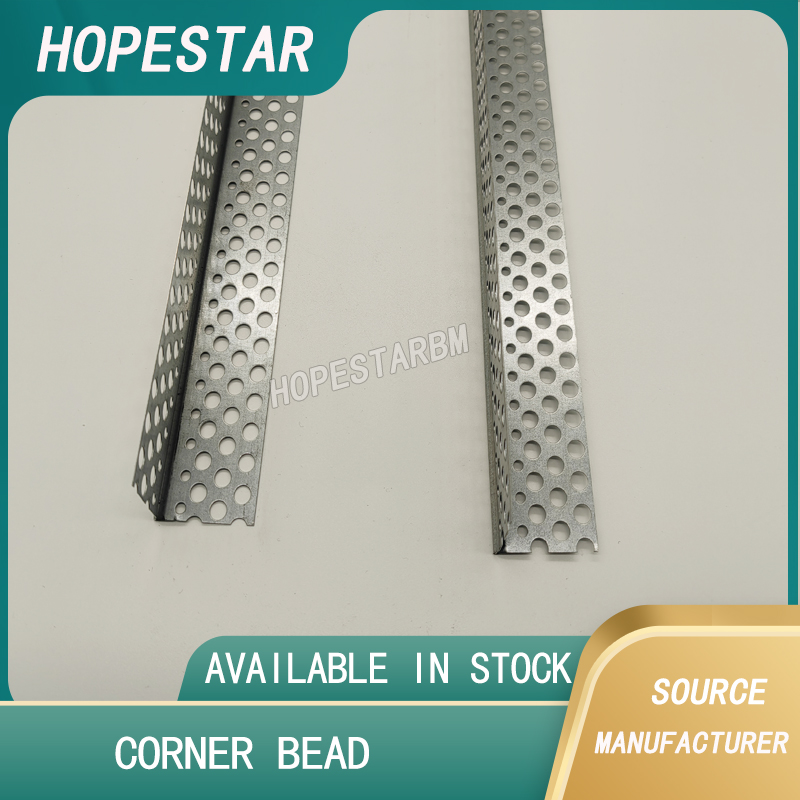
Using corner bead properly is essential for reinforcing and finishing drywall corners. Here’s a step-by-step guide on how to install corner bead effectively:
Step 1: Choose the Right Corner Bead
Select the appropriate type based on your needs:
-
Metal Corner Bead – Best for durability and straight edges.
-
Vinyl (PVC) Corner Bead – Ideal for moisture-prone areas and curved corners.
-
Paper-Faced Corner Bead – Best for seamless joints and fewer cracks.
Step 2: Measure and Cut the Corner Bead
-
Measure the height of the corner from floor to ceiling.
-
Cut the corner bead to the correct length using tin snips (for metal and vinyl) or a utility knife (for paper-faced bead).
Step 3: Attach the Corner Bead
For Metal or Vinyl Beads:
-
Nail or Screw Method: Use drywall nails or screws every 8 to 12 inches along both sides.
-
Staple Method (for Vinyl Beads): Use a staple gun to attach it securely.
-
Spray Adhesive Method: Apply adhesive and press the bead into place.
For Paper-Faced Corner Beads:
-
Apply joint compound along the corner.
-
Press the bead into the compound.
-
Use a drywall knife to smooth it and remove excess compound.
Step 4: Apply Joint Compound (Mud)
-
Use a 6-inch drywall knife to apply the first coat of joint compound over the corner bead, feathering the edges.
-
Let it dry completely (usually 24 hours).
-
Apply a second, wider coat using a 10-inch knife, extending further out from the corner.
-
Allow it to dry, then apply a third final coat for a smooth finish.
Step 5: Sand and Paint
-
Once the joint compound is dry, sand it with fine-grit sandpaper (150-220 grit) to smooth out any ridges.
-
Wipe away dust with a damp cloth.
-
Prime and paint as desired.
By following these steps, you’ll achieve clean, professional-looking drywall corners that are reinforced, smooth, and durable.
What type of corner bead is best?
What are the three types of corner beads?
Related Article



