
Analysis of installation and construction plan for Australian light steel keel
2025-05-28
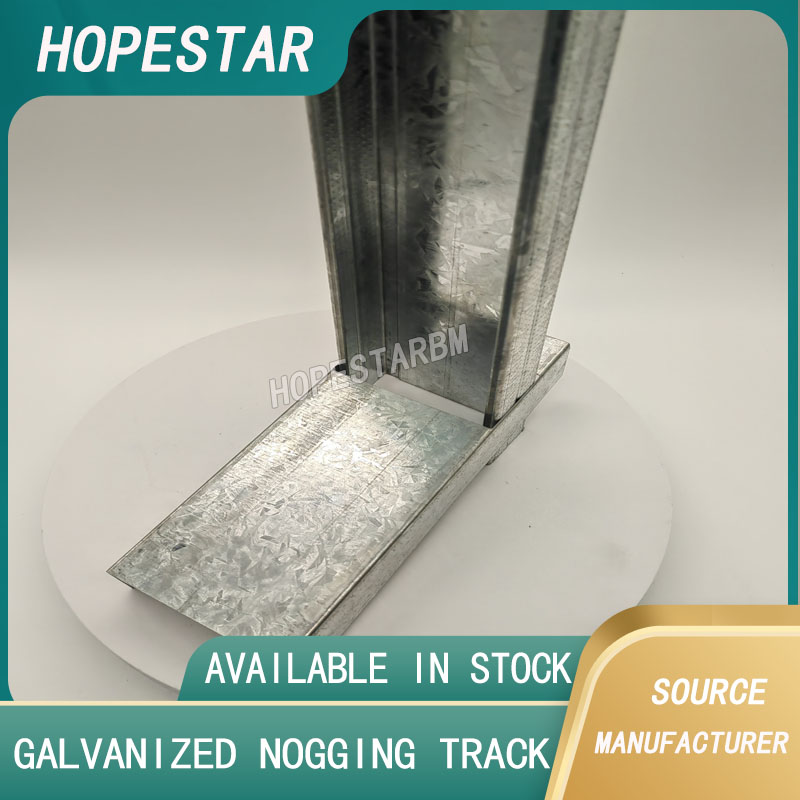
Recently, I have received many messages in the backend, and everyone is concerned about how to install and construct light steel keel. Today, I will explain to you the installation and construction plan of light steel keel in Australia, hoping that you can understand it.
Light steel keel, as a very important supporting structural material in modern architecture, is widely used in Australian residential, commercial buildings, factory partitions, ceilings, and other interior decoration projects due to its advantages of light weight, high strength, fire and corrosion resistance, and convenient construction. However, no matter how good the materials are, improper construction can directly affect the overall effect and service life of the project. Therefore, mastering the installation and construction process correctly is crucial for ensuring the quality of the project.
1、 Preparation work before installation
The preparation work before installation is the foundation of the entire construction process. Firstly, it is necessary to clarify the type, quantity, and specifications of the required light steel keel according to the construction drawings or project requirements. The common standards in Australia include C-shaped, U-shaped, T-shaped and other keel structures, and the length is generally customized according to the ceiling span or wall height.
At the construction site, measuring tools (tape measure, level), construction tools (drill, screwdriver, cutting machine), and connectors (self tapping screws, expansion screws, etc.) should be prepared. In addition, to ensure construction safety, operators should wear necessary equipment such as safety helmets and protective gloves.
2、 Bullet line positioning to ensure accuracy
Before the construction officially begins, positioning lines need to be marked on the walls, floors, or ceilings. This step is mainly to mark the layout line and height control line of the light steel keel. Use an ink fountain or laser level to draw the direction of the main and auxiliary keels along the design requirements, ensuring the accuracy of subsequent installation.
For suspended ceiling structures, the spacing between main keels is generally 600mm, and the spacing between secondary keels is 400mm. For vertical keels in partition systems, it is recommended to control the spacing within 600mm to ensure the overall strength of the wall.
3、 Install the side keel and main skeleton
Next, we will enter the formal installation phase. Firstly, install the edge keel along the top and ground, and use expansion screws to fix the U-shaped keel to the ground and ceiling, ensuring that it is vertical and horizontal. This step may seem simple, but in practical operation, it often determines the stability of the entire system.
Subsequently, according to the wiring, install the main keel between the side keels in sequence. If it is a suspended ceiling system, the main keel needs to be hung and fixed with hanging fixtures; If it is a partition system, insert the C-shaped keel vertically into the upper and lower U-shaped grooves and reinforce it with screws. During the installation process, it is necessary to continuously calibrate the verticality and flatness to prevent structural tilting in the later stage.
4、 Secondary keel and cross brace reinforcement
The function of the secondary keel is to enhance the stability of the overall structure, commonly used for horizontal support of suspended ceilings or horizontal fixation of partition walls. The secondary keel should be arranged intersecting with the main keel and reinforced with specialized connectors. For partition walls, it is recommended to install a cross brace every 1200mm to avoid arching and cracking of the panels.
In addition, if the project has higher requirements for sound insulation or fire prevention, glass wool or rock wool can be filled in the keel cavity after the installation of the secondary keel to improve overall performance.
5、 Installation of gypsum board and finishing treatment
After the structural installation is completed, cover the surface materials such as gypsum board. The connection between the board and the keel is achieved through self tapping screws, with the screw spacing generally controlled between 150mm-200mm, and attention should be paid to not exposing the nail cap for subsequent scraping and decorative treatment.
There should be a gap of about 5mm between the boards to facilitate the construction of joint fillers and the release of thermal expansion and contraction, and to prevent cracking in the later stage.
The construction of light steel keel in Australia may seem simple, but in fact, every step cannot be taken lightly. Whether it is residential decoration or large-scale commercial projects, choosing high-quality materials and standardized construction teams is the key to ensuring building safety and quality. I hope that through today's analysis, everyone has a more intuitive understanding of the installation process of light steel keel. If you have any related projects or bulk procurement needs, please feel free to leave a message for consultation. We will provide you with professional solutions and technical support
Light steel keel, as a very important supporting structural material in modern architecture, is widely used in Australian residential, commercial buildings, factory partitions, ceilings, and other interior decoration projects due to its advantages of light weight, high strength, fire and corrosion resistance, and convenient construction. However, no matter how good the materials are, improper construction can directly affect the overall effect and service life of the project. Therefore, mastering the installation and construction process correctly is crucial for ensuring the quality of the project.
1、 Preparation work before installation
The preparation work before installation is the foundation of the entire construction process. Firstly, it is necessary to clarify the type, quantity, and specifications of the required light steel keel according to the construction drawings or project requirements. The common standards in Australia include C-shaped, U-shaped, T-shaped and other keel structures, and the length is generally customized according to the ceiling span or wall height.
At the construction site, measuring tools (tape measure, level), construction tools (drill, screwdriver, cutting machine), and connectors (self tapping screws, expansion screws, etc.) should be prepared. In addition, to ensure construction safety, operators should wear necessary equipment such as safety helmets and protective gloves.
2、 Bullet line positioning to ensure accuracy
Before the construction officially begins, positioning lines need to be marked on the walls, floors, or ceilings. This step is mainly to mark the layout line and height control line of the light steel keel. Use an ink fountain or laser level to draw the direction of the main and auxiliary keels along the design requirements, ensuring the accuracy of subsequent installation.
For suspended ceiling structures, the spacing between main keels is generally 600mm, and the spacing between secondary keels is 400mm. For vertical keels in partition systems, it is recommended to control the spacing within 600mm to ensure the overall strength of the wall.
3、 Install the side keel and main skeleton
Next, we will enter the formal installation phase. Firstly, install the edge keel along the top and ground, and use expansion screws to fix the U-shaped keel to the ground and ceiling, ensuring that it is vertical and horizontal. This step may seem simple, but in practical operation, it often determines the stability of the entire system.
Subsequently, according to the wiring, install the main keel between the side keels in sequence. If it is a suspended ceiling system, the main keel needs to be hung and fixed with hanging fixtures; If it is a partition system, insert the C-shaped keel vertically into the upper and lower U-shaped grooves and reinforce it with screws. During the installation process, it is necessary to continuously calibrate the verticality and flatness to prevent structural tilting in the later stage.
4、 Secondary keel and cross brace reinforcement
The function of the secondary keel is to enhance the stability of the overall structure, commonly used for horizontal support of suspended ceilings or horizontal fixation of partition walls. The secondary keel should be arranged intersecting with the main keel and reinforced with specialized connectors. For partition walls, it is recommended to install a cross brace every 1200mm to avoid arching and cracking of the panels.
In addition, if the project has higher requirements for sound insulation or fire prevention, glass wool or rock wool can be filled in the keel cavity after the installation of the secondary keel to improve overall performance.
5、 Installation of gypsum board and finishing treatment
After the structural installation is completed, cover the surface materials such as gypsum board. The connection between the board and the keel is achieved through self tapping screws, with the screw spacing generally controlled between 150mm-200mm, and attention should be paid to not exposing the nail cap for subsequent scraping and decorative treatment.
There should be a gap of about 5mm between the boards to facilitate the construction of joint fillers and the release of thermal expansion and contraction, and to prevent cracking in the later stage.
The construction of light steel keel in Australia may seem simple, but in fact, every step cannot be taken lightly. Whether it is residential decoration or large-scale commercial projects, choosing high-quality materials and standardized construction teams is the key to ensuring building safety and quality. I hope that through today's analysis, everyone has a more intuitive understanding of the installation process of light steel keel. If you have any related projects or bulk procurement needs, please feel free to leave a message for consultation. We will provide you with professional solutions and technical support
What Is Metal Furring Channel with Holes?
Where are galvanized light steel keels used
Related Article

Ceiling wall angle, also known as perimeter angle or L-angle, is an indispensable L-shaped metal profile for suspended drywall ceiling systems. Roll-formed from cold-rolled galvanized steel, ceiling wall angle is fixed along the wall perimeter to support the ends of main channels and furring channels,
Ceiling Wall Angle – Galvanized L-Shaped Perimeter Trim for Suspended Drywall Ceilings

Galvanized steel profiles are the foundational metal framing components widely used in modern interior construction. Roll-formed from cold-rolled steel coated with protective zinc layer, galvanized steel profiles cover a full range of shapes including C studs, U tracks, omega channels,
Galvanized Steel Profiles – Reliable Cold Rolled Framing for Drywall Walls and Ceilings

Metal furring channel for ceiling is a vital secondary framing component widely used in suspended ceiling and drywall ceiling systems. Roll-formed from cold-rolled galvanized steel, this lightweight metal profile works together with main channels, hangers and wall angles to create a level,
Metal Furring Channel for Ceiling – Galvanized Secondary Framing for Suspended Drywall Ceilings

Metal omega channel, also widely called omega furring channel or hat channel, is an indispensable secondary metal framing profile for modern suspended ceilings and drywall wall furring systems. Named after its distinctive Ω shape, this profile is roll-formed from cold-rolled galvanized steel
Metal Omega Channel – Galvanized Omega Furring Channel for Drywall Ceiling and Wall Framing